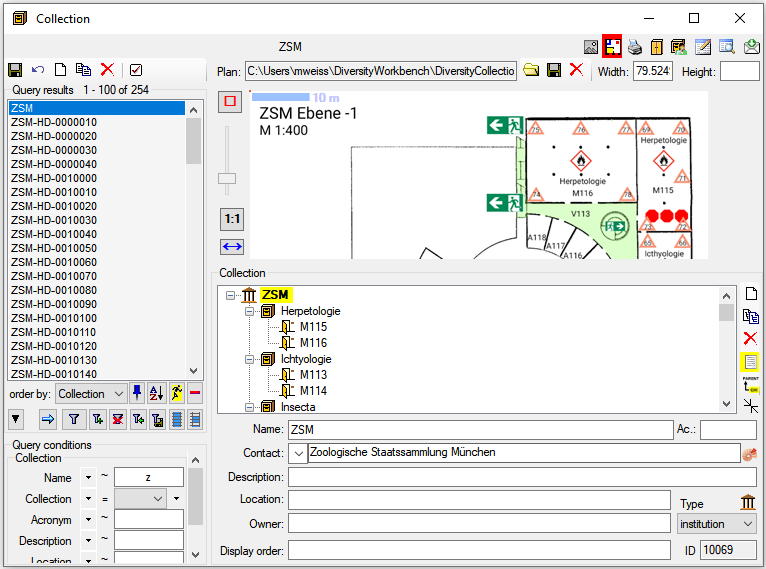
If a floor plan is available for a collection
this will be indicated by a yellow background
. To provide the floor plan of a collection
choose from the menu and click on the
 button to select the floor plan.
Click on the
button to select the floor plan.
Click on the
 button to save the plan.
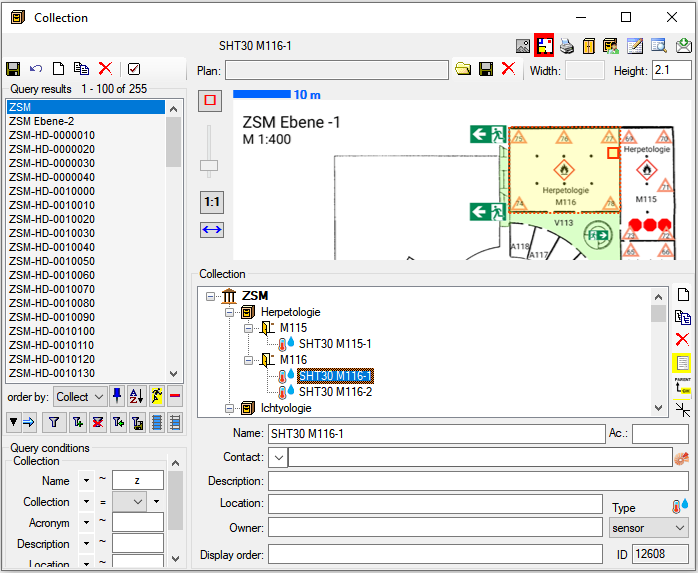
To provide the geometry of a certain area with e.g. a drawer the same he floor plans are inhertited to depending collections and the geometry of a parent collection will be indicated by a dotted line (see below). The field keeps the height of e.g. a sensor for temperature.
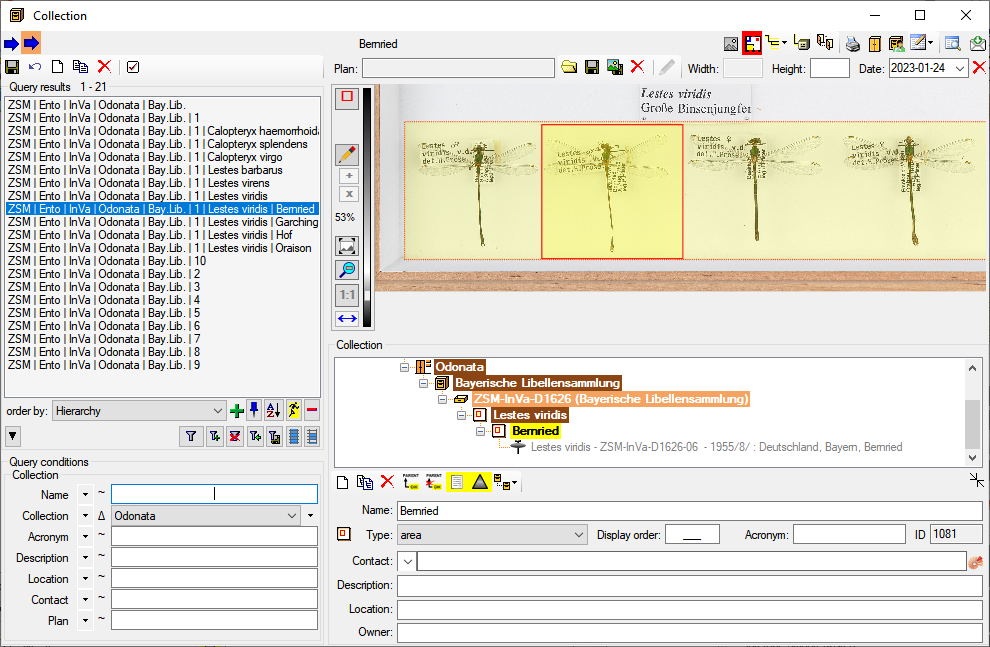
Besides floor plans you may as
well specify certain positions within e.g. a drawer (see below
and the tutorial
 ).
).
To set the scale for a floor plan
with a scale provided in the plan, click on the button. A
blue bar will appear that can be dragged and changed in length
to a object of known size, e.g. a scale in the plan. After the
scale is set, click on the
button and the floor plan will be
overlaid with the scale as shown above. The width of the whole
plan will be shown in field
.
To set the geometry of e.g. a
room, click on the □ button. A red rectangle will appear as
an overlay in the plan that can be dragged into the right
position. The × button removes the geometry from the current
dataset. Click on the
button to store the geometry.
To zoom the floor plan use the
slider at the left or the mouse wheel. To return to the original size with a click
on the
button.
If the current dataset has a geometry you can use the
 button to zoom in the geometry. With the
 button you can show the whole
image.
button you can show the whole
image.