To save a background map which is currently displayed in Map mode just press the
Save button
instead of the Add button
. A save file dialog will pop up to name the file,
the map and its coordinates will be saved and added to the sample list.
A background map is required before objects and images can be saved. Saving samples
means saving their type, attributes and world coordinates in files. When pressing
the Save button
, it applies to all visible samples on the working
area, except the background map. A current sample will be added to the sample list
before it is saved.
If objects are visible, a save file dialog will open and a name for the target file(s) must be set. Objects (areas, line strings, points) will be saved in respect to the selected formats of the GIS-Editor Settings:
If images are in the Sample List, they are already present on disk and will not be saved twice. Instead for each image an XML file will be created with the calculated world coordinates of the image and will be stored under the same location and name as the image. This does not apply to the current background map.
If Save Working Area is enabled in the GIS-Editor Settings,
a scan of the complete working area including its objects is made and stored in
an image file, which name has been set in the save file dialog.
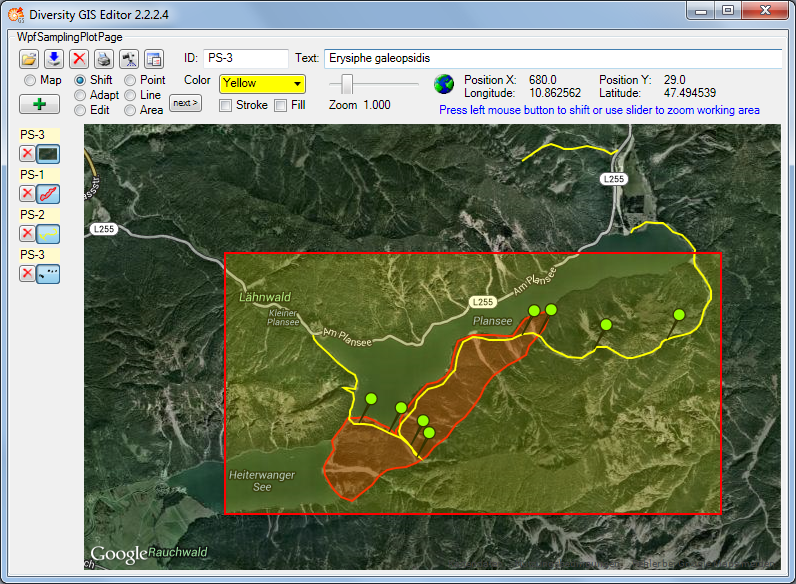
To save only a part of the working area the Frame box must be checked in the
GIS-Editor Settings, too. Then
a rectangular frame of the given dimensions is displayed, which defines the part of the working area that will be saved.
It can be dragged to the right position using the left mouse button (click, hold and
shift), and it can be resized by grabbing and moving the corners of the frame.