 and
and
 items are displayed in the toolbar. Additionally the
 ,
,
 and
and
 buttons will appear in the info area.
If the user has administrator rights for the dataset,
the
,
and
items are displayed in the toolbar. Additionally the
,
and
buttons will appear in the info area.
The user then
may edit the name of the place using the text box. The
item turns to red
 to notify the user that the changes need to be saved by pressing this
item before going to another place. The assigned geographical objects
may also be edited or changed using the Edit mode of the
GIS Editor
and saved by pressing the
item. To add a new place to the gazetteer, create a geo object within the
GIS Editor,
enter a description and subsequently press the
to notify the user that the changes need to be saved by pressing this
item before going to another place. The assigned geographical objects
may also be edited or changed using the Edit mode of the
GIS Editor
and saved by pressing the
item. To add a new place to the gazetteer, create a geo object within the
GIS Editor,
enter a description and subsequently press the
item to put it into the database.
The user may delete a name entry by pressing the
item. To add a new name for the current place just type it into the Name text box and press the
button aside. This button is only enabled, if the name has been edited.
To create or change the places hierarchy select an entry and switch ON the
toggle button. Search and select an entry using the query results list box to assign it as the parent
place for the one which is displayed in the info area. The tool tip of the list box will change accordingly.
As soon it has been assigned the toggle button will switch OFF again. If no entry should be assigned
the button may be released by pressing it again. If the place is part of the hierarchy the
button is enabled and may be pressed to remove the assignment of the parent for the current place.
This will cut off the upper part of the place's hierarchy tree.
Appropriate message boxes will pop up for changing or editing the name and hierarchy of a place to prevent changes by mistake. If there are multiple places selected, these buttons will not be functional.
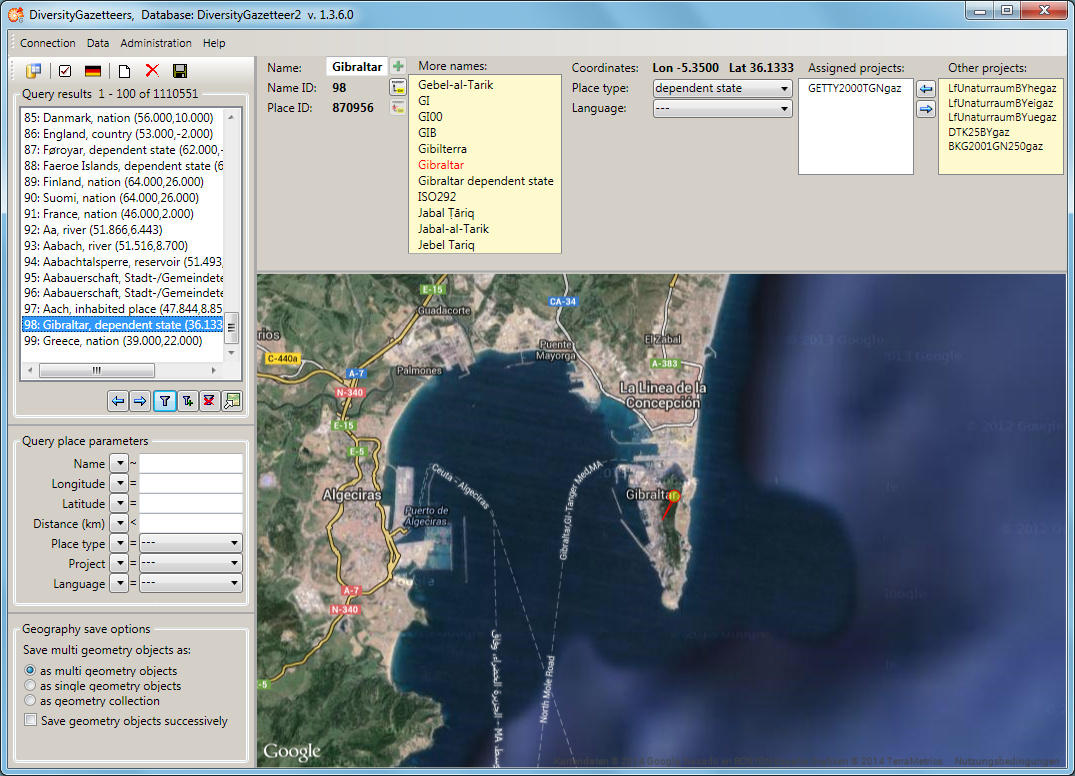
If there are more than one name entries for the current place, all names are shown in a list box right of the selected name. The user may switch to another name of the list by double clicking it. One of the name entries may be assigned as the preferred name for the current place. This can be done by left clicking it. A message box will be shown to ensure that the assignment should be made. The preferred name then will appear in red color in the list.
At the right side of the information area there are 2 list boxes. The first shows the projects which are assigned to the current name, the second shows the other projects which are not assigned. The administrator may assign or remove projects to the name by selecting a project and clicking on an appropriate arrow button to shift it to the opposite box. Alternatively he may easily shift the project by double clicking on it.
If the assignment of the projects has been changed, the
button turns to red
to notify the user that the changes need to be saved before going to another place.
Otherwise the changes will be lost.
