
This tutorial demostrates the export of a small sample from the database.
In the main form, select the data that should be exported (only the data displayed in the query results are exported).
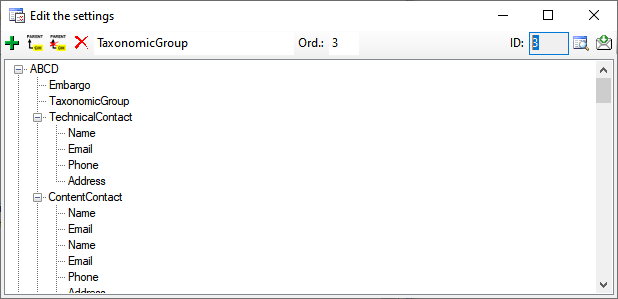
Preparation: In this example, we want export project data with several settings. To get the value for the correct ID of the settings needed for this export, select Administration - Settings from the menu. In the window that will open (see below) select the settings you want to export and copy the ID to e.g. a textfile as a source you will need in a later step.
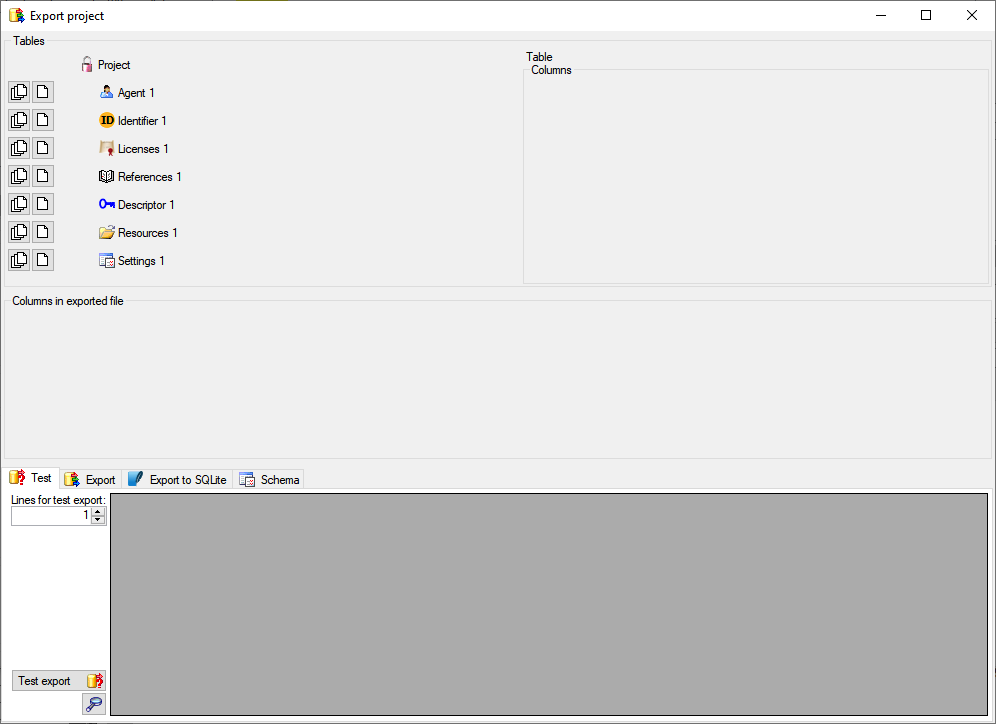
Now choose Data -> Export ->
 Export wizard ... from the menu. A window
as shown below will open where the available tables for export are listed in the
upper left area. To show the data colums of a table, select this table in the list.
Export wizard ... from the menu. A window
as shown below will open where the available tables for export are listed in the
upper left area. To show the data colums of a table, select this table in the list.
As first columns in the exported file
we want to add the name and the ID of the project. Select the table
project from the list as shown in the image below and for the columns
Project and ProjectID click on the
 button. As shown below, the columns
will appear in the list for the export.
button. As shown below, the columns
will appear in the list for the export.

In this example, we want to add several parallel
setting tables. To do this, click on
the
 button of the Setting table for
every parallel you want to add (see
below).
button of the Setting table for
every parallel you want to add (see
below).
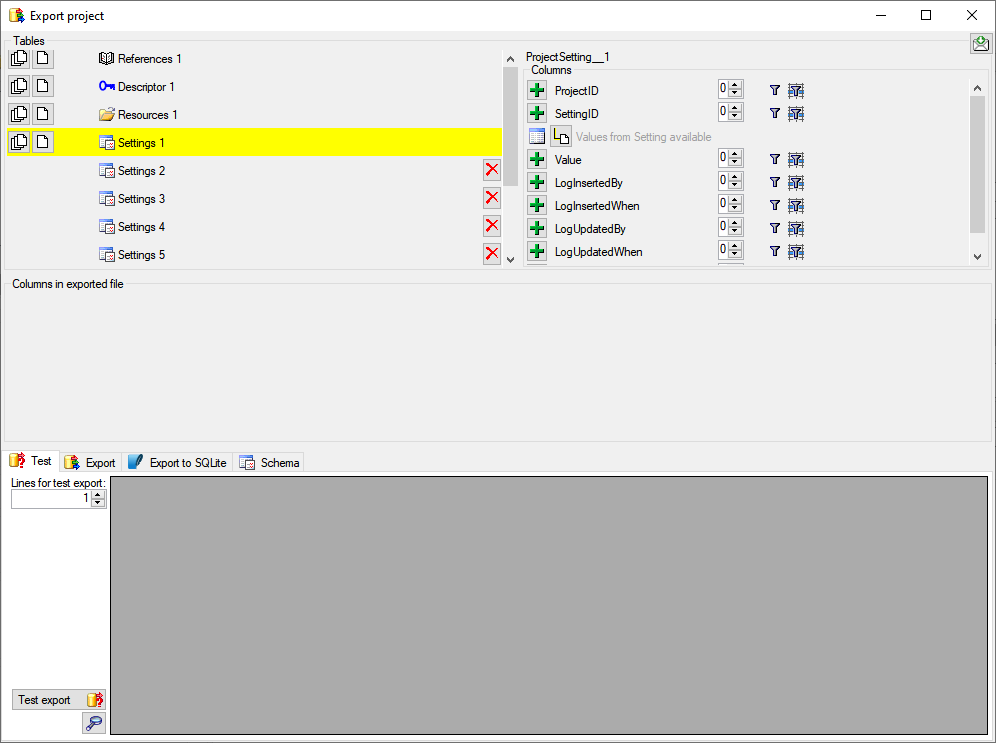
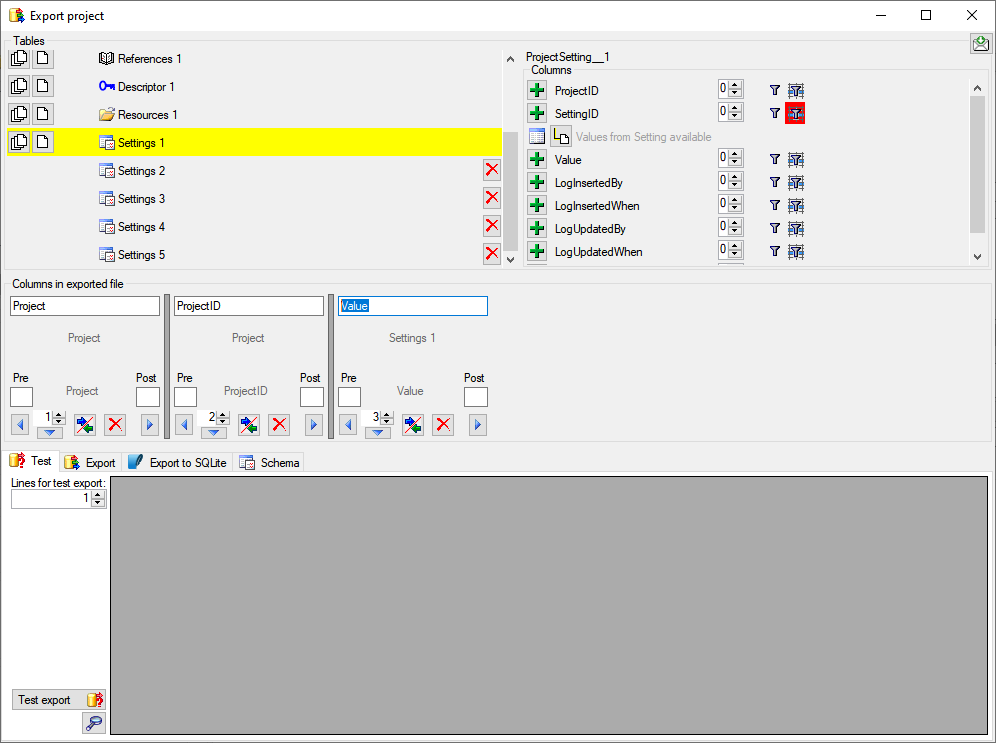
To set the filter for the settings, select
the table and for the column SettingID set the
 filter for the row.
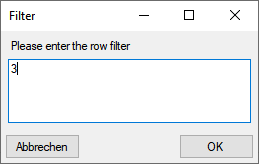
In the window that will open (see below) copy the ID from the
preparation step and click OK.
filter for the row.
In the window that will open (see below) copy the ID from the
preparation step and click OK.
The filter button will be marked with a red background to indicate the filter.
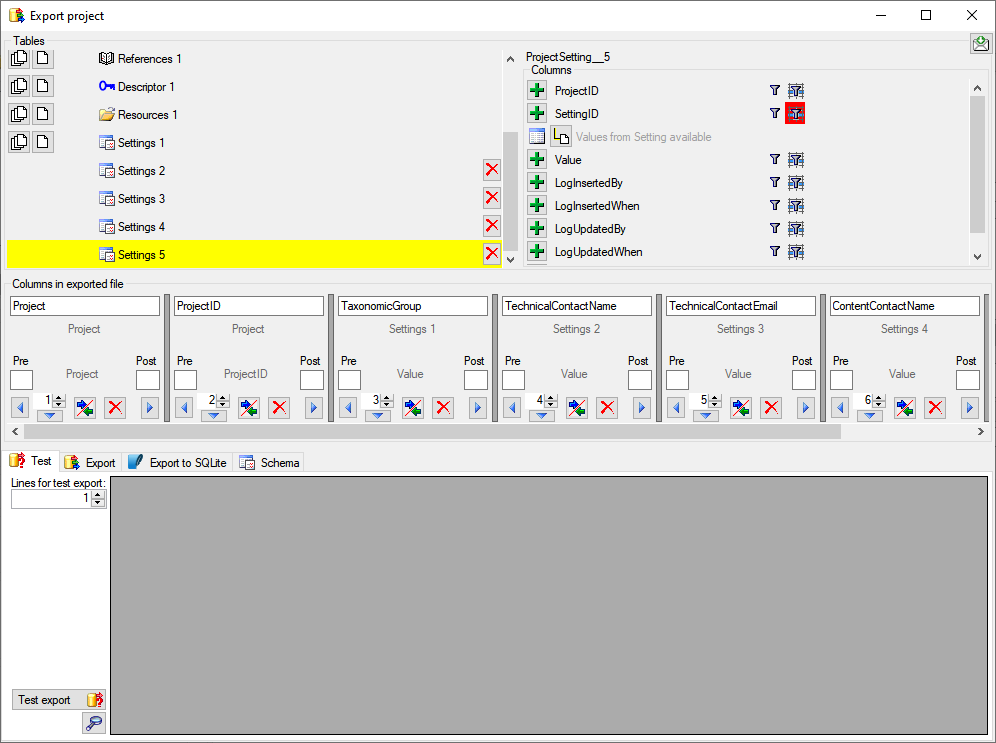
Now click on the button for the column Value to add the content to the list of exported columns (see below). As we want to export several data from the same table, we have to mark the columns according to its contents. for this purpose change text "Value" for the header according to the content.
Repeat the above procedure for all setting columns to get as list as shown in the image below.

To test the export, click on the Test export
button. The result depends on
the content in your data but should look similar as shown below.
