.)
.)
This tutorial demonstrates the export of a small sample
from the database. (For an introduction see a short tutorial from DiversityCollection
.)
In the main form, select the data that should be exported (only the data displayed in the query results are exported).
Choose Data ->  Export ->
 Export wizard ->
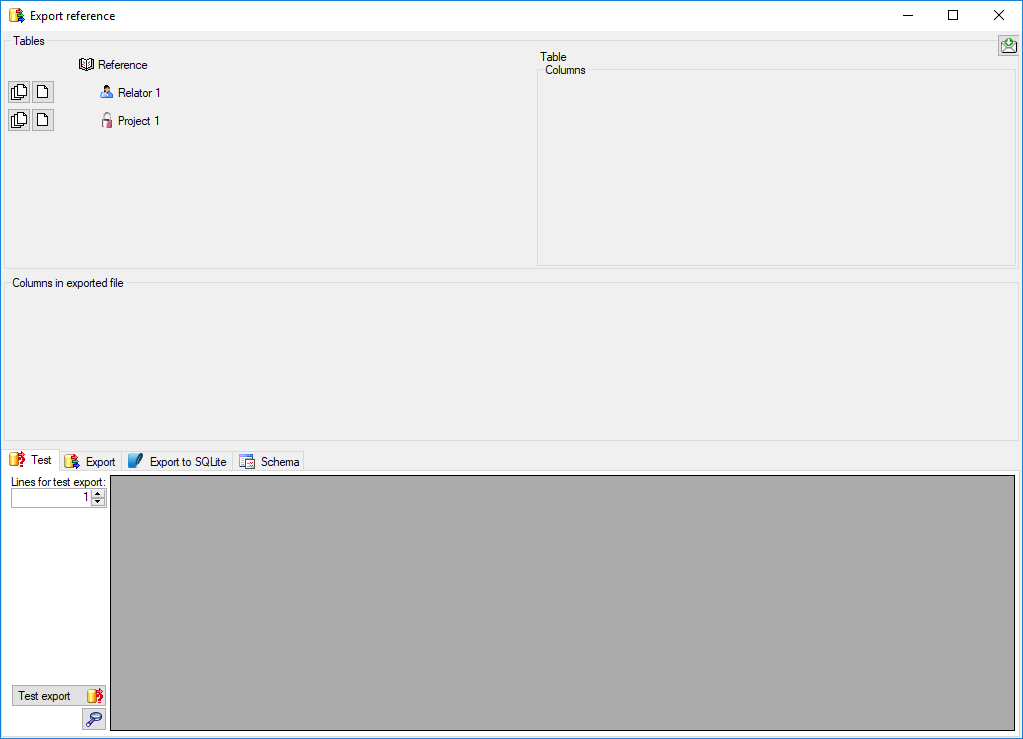
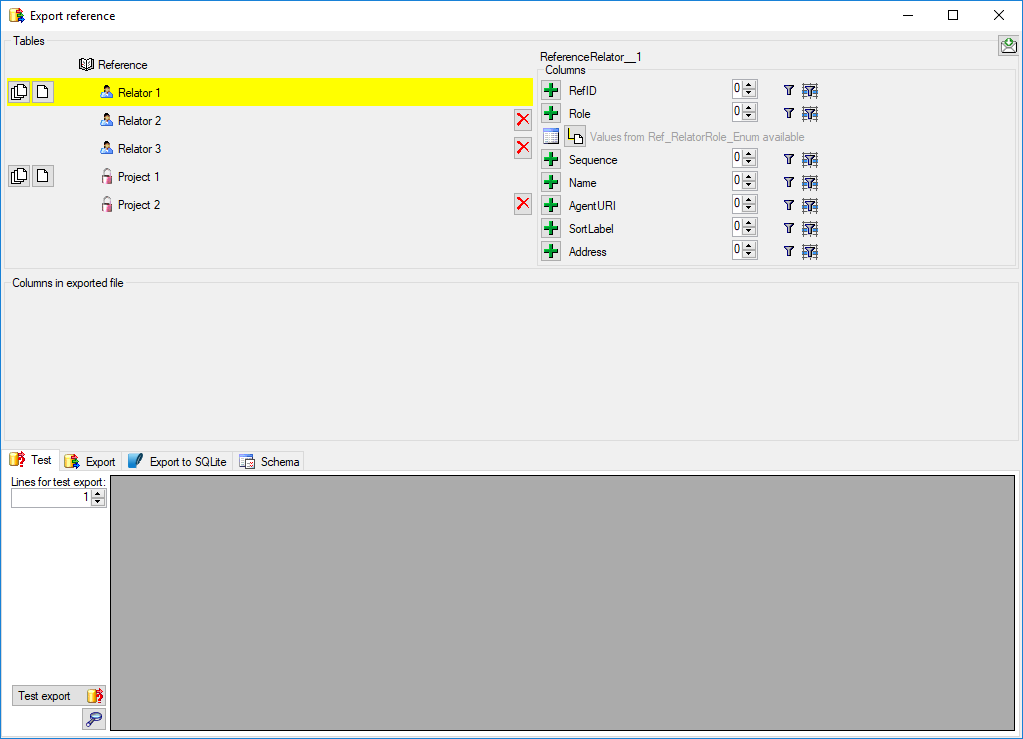
 Reference export ... from the menu. A window as shown below will open where
the available tables for export are listed in the upper left area. To show the data
columns of a table, select this table in the list.
Reference export ... from the menu. A window as shown below will open where
the available tables for export are listed in the upper left area. To show the data
columns of a table, select this table in the list.
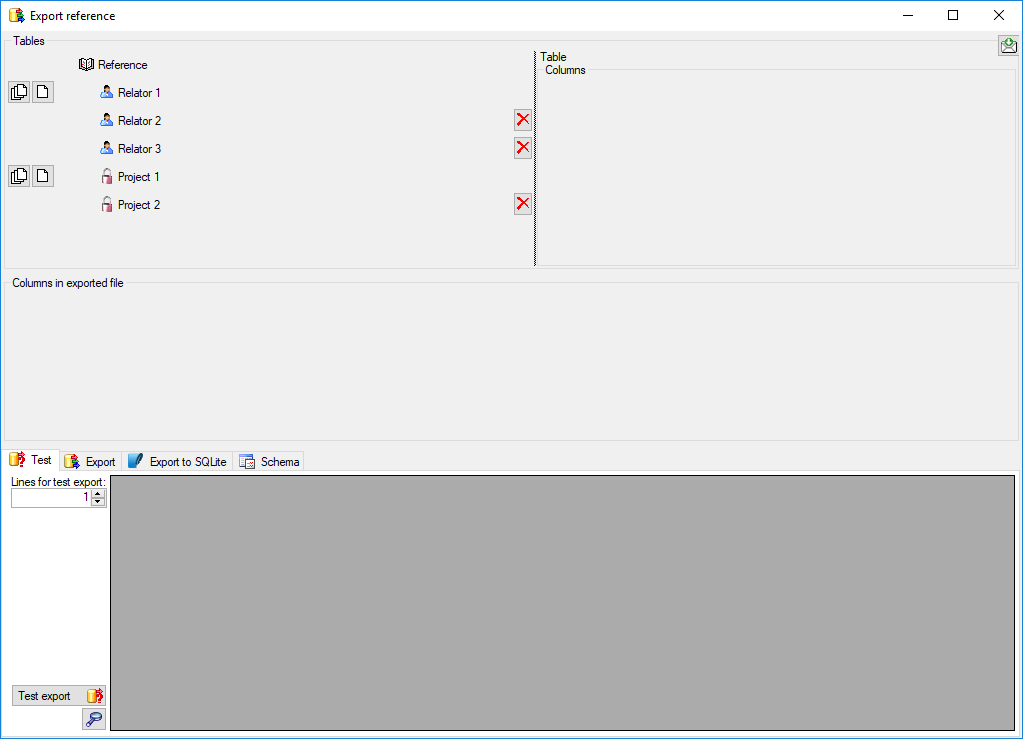
In this example, we want to add up to three authors and
as many parallel project tables as present in the data. To do this, click on the
 button of the Relator 1 table twice and on the
 button of the Project 1 table once. At the end of the list (depending on your data)
the additional tables are added (see below).
button of the Project 1 table once. At the end of the list (depending on your data)
the additional tables are added (see below).
Some columns provide the possibility to add data from linked tables or modules. In this example we choose the column ProjectID linking to the table ProjectProxy (see below).
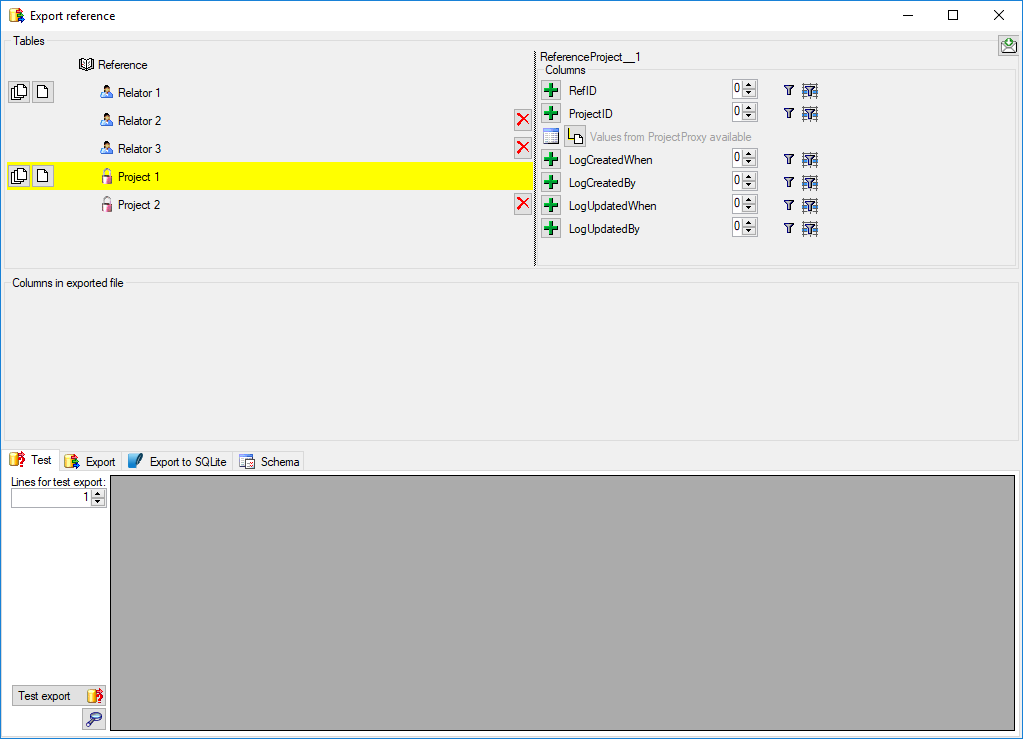
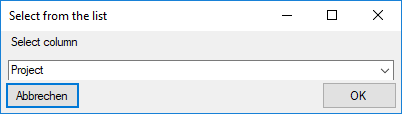
To provide linked values, click on the
 button. A window as shown below will open, where you can choose the column (see
below).
button. A window as shown below will open, where you can choose the column (see
below).
Now the selected column is added underneath the column as shown below. You can add as many columns as you need for your export.

Repeat this operation for Project 2. Furthermore in table Reference set the link from RefType to Ref_Type_Enum with column Label.
Since we only want to show the authors, we have to enter
a filter on the relator roles. In table Relator 1 select the filter button
 in column Role (see below).
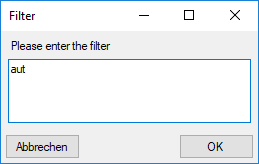
To select the author enter the internal database value "aut" (see below).
Now the active filter is indicated by a red background of the filter symbol (see image below).
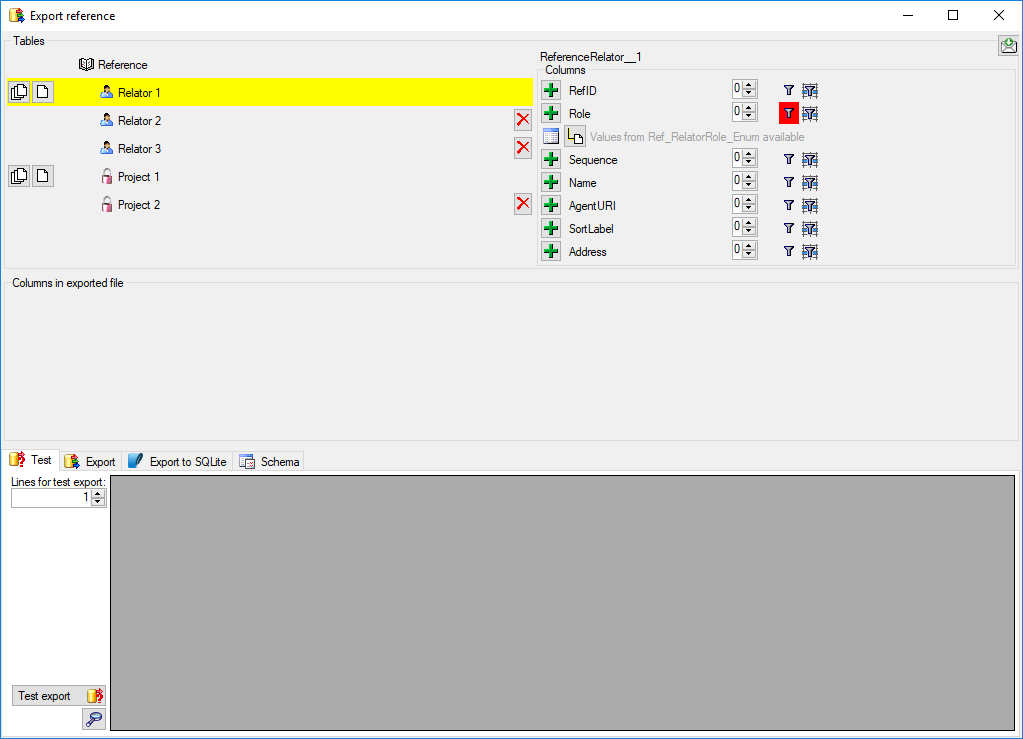
Repeat this operation for Relator 2 and Relator 3.
To add columns to the exported file, click on the
 buttons for the columns resp. linked values. In this example select the reference
type, title, three relator names and the two projects (see below).
buttons for the columns resp. linked values. In this example select the reference
type, title, three relator names and the two projects (see below).
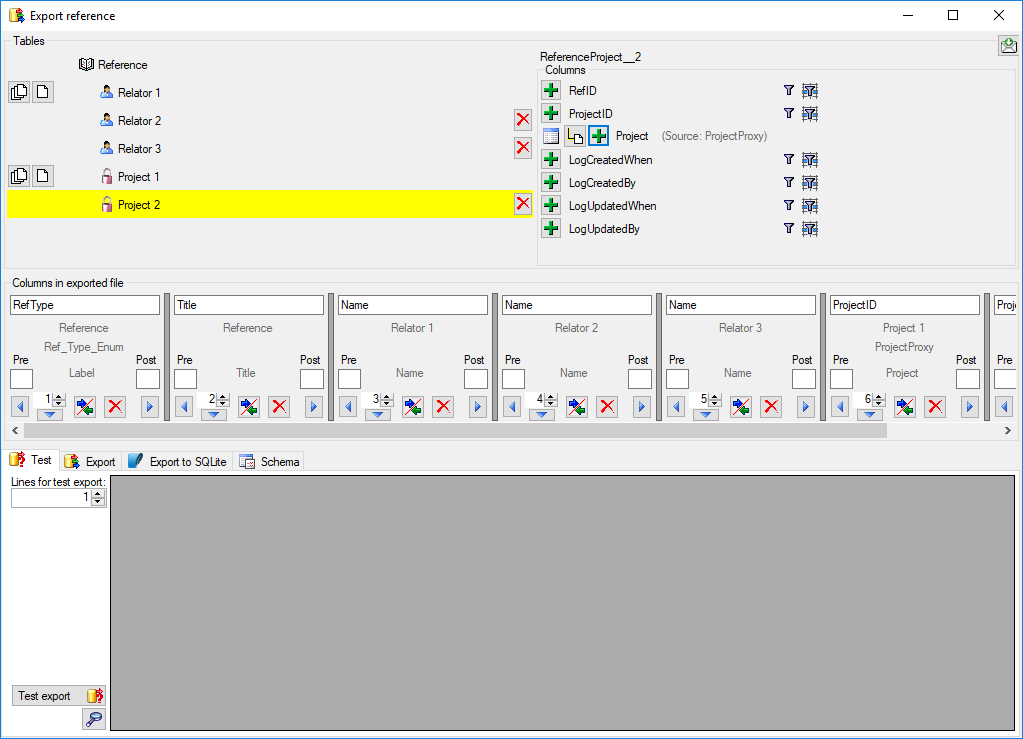
The authors and projects should appear as one column,
separated by a comma, therefore we can fuse these columns. To do so, click on the
delimiters
 between these columns and enter a comma in the "Pre" fields of Relator
2, Relator 3 and Project 2 (see below).
between these columns and enter a comma in the "Pre" fields of Relator
2, Relator 3 and Project 2 (see below).

By default the headers for the exported data are set according to the names of the columns in the database. To change this, edit them as shown below where TaxonomicName has been changed to Taxon (see below). For fused columns only the header in the first column will be used.


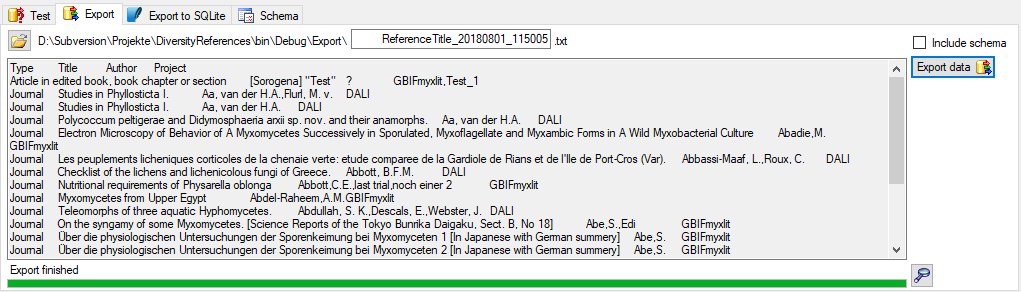
To test the export, click on the Test export
button. The result depends
on the content in your data but should look similar as shown below.

To finally export the data, choose the
Export tab. By default the data will be exported into tab separated
file in a directory in the application directory (see below). You can change the
directory (click on the
 button). You can choose
the
button). You can choose
the
 Include schema option
to create a schema that you may reuse in a later export.
Include schema option
to create a schema that you may reuse in a later export.