 Wizard ->
 Import descriptions ... from the menu. A window as shown below will open
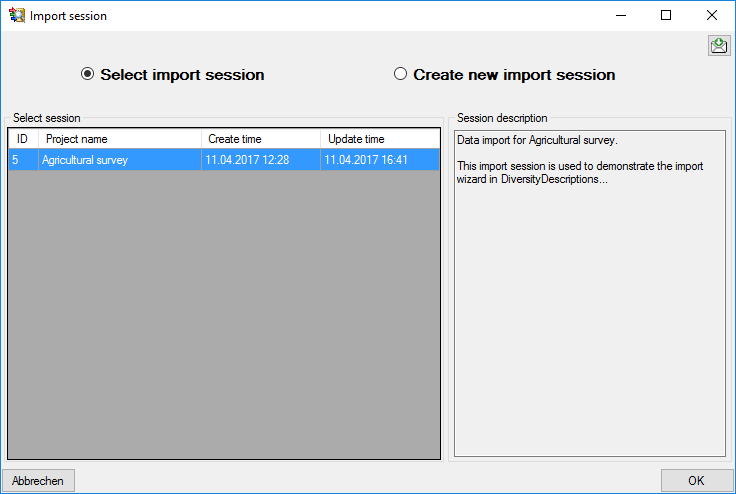
to select an import session. Select session for project "MycoPhylogenyNet".
Import descriptions ... from the menu. A window as shown below will open
to select an import session. Select session for project "MycoPhylogenyNet".
Choose Data -> Import ->
Wizard ->
Import descriptions ... from the menu. A window as shown below will open
to select an import session. Select session for project "MycoPhylogenyNet".
After clicking [OK] the following window opens that will lead you through the import of the description data.
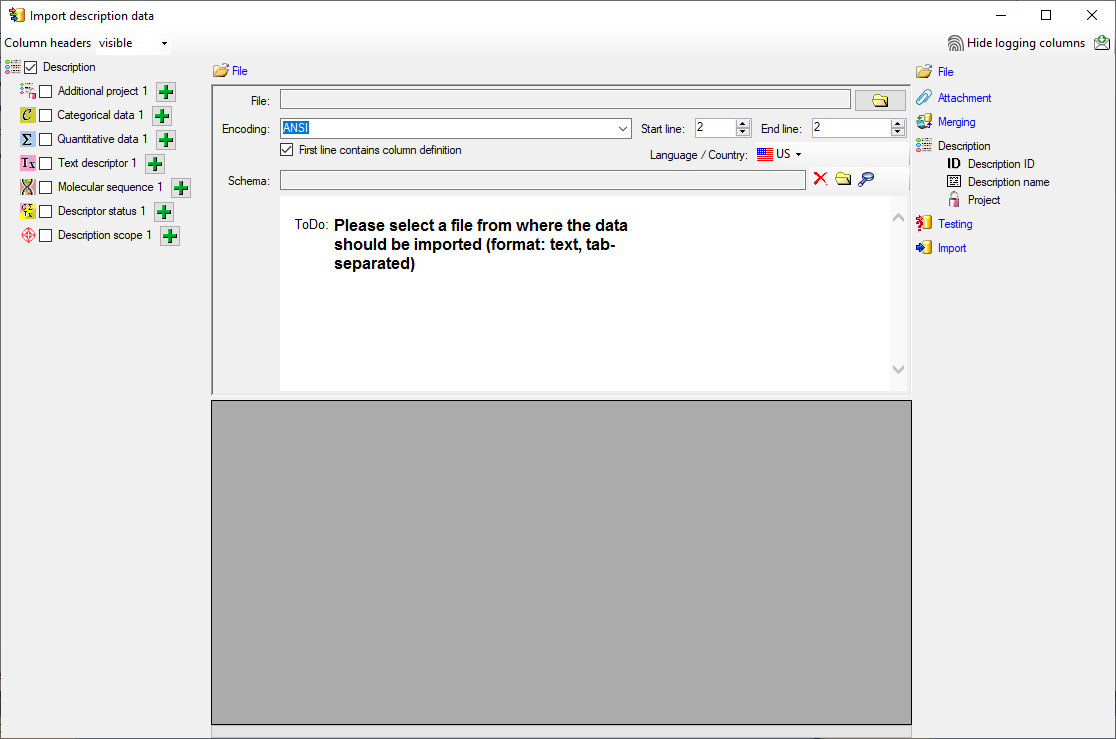
Choose step
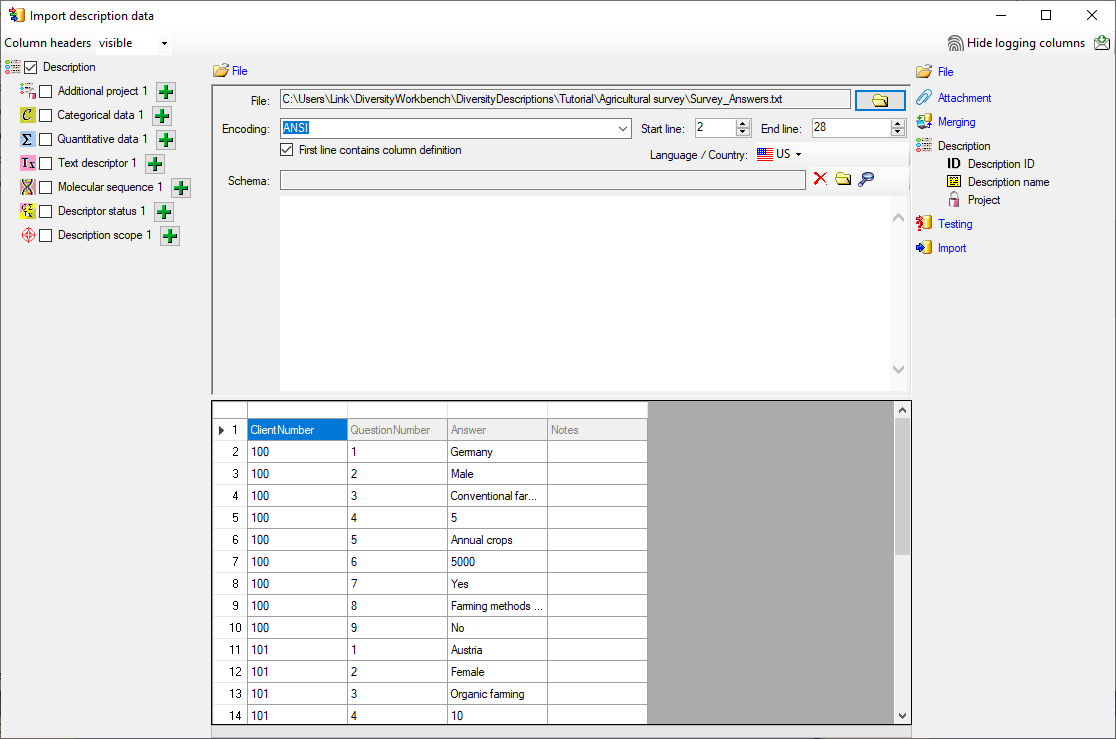
 File an open file "Survey_Answers.txt".
The chosen encoding ANSI of the file should be sufficiend. The file column
"ClientNumber" contains the description names that shall be imported.
Since there are no other description specific data, the same column will be used
for the as unique ID to identify each description.
File an open file "Survey_Answers.txt".
The chosen encoding ANSI of the file should be sufficiend. The file column
"ClientNumber" contains the description names that shall be imported.
Since there are no other description specific data, the same column will be used
for the as unique ID to identify each description.
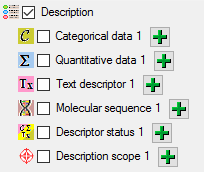
In the selection list on the left side of the window all possible import steps for the data are listed according to the type of data you want to import.
Since each description name rsp. ID occurs in several
lines of the file, subsequent tries to import the same description would cause errors,
if the standard merge handling
 Insert was used. We have to change the import step
 Merge from the list. For
Description we select the
Merge from the list. For
Description we select the
 Merge option (see below).

The step
Description is already
selected and cannot be de-selected (see above). In the step table at the right side
you find the import step
Descriptor and below the data groups of the import step. Click on
 Description ID and in the center window the assignemt data for
the description id ("id") are displayed. Click on
Description ID and in the center window the assignemt data for
the description id ("id") are displayed. Click on
 to make this the decisive column and on
 to allow the merge comparison, further click on
 From file to select the column "ClientNumber" as data source.
After that the column should look as shown below.
From file to select the column "ClientNumber" as data source.
After that the column should look as shown below.

Now the description name must be selected, therefore click
on
 Description name. The center window shows two data columns: "label"
and "detail". Click on
From file in the "label" line to select file column "ClientNumber".
After that the columns should look as shown below.
Description name. The center window shows two data columns: "label"
and "detail". Click on
From file in the "label" line to select file column "ClientNumber".
After that the columns should look as shown below.

Finally select import step
 Project, select data column "project_id", choose
For all: and select entry "Agricultural survey" from
the drop down (see below). With this adjustment every imported description will
automatically be assigned to that project.
Project, select data column "project_id", choose
For all: and select entry "Agricultural survey" from
the drop down (see below). With this adjustment every imported description will
automatically be assigned to that project.

Remark: Although project_id is a numeric value in the database, the externally visible project name is expected here. Since this name is unambigious, the corresponding id will be determined during import.

To test if all requirements for the import are met use
the
Testing step. The test for the first
data line is shown below.


With the last step you can start to import the data into the database. If you want to repeat the import with the same settings and data of the same structure, you can save a schema of the current settings. There were three different descriptions (see below).
