Diversity Collection

Images
Creating and removing images
To insert a new image click on the  new button. A window
will open where you can enter the path and file name of the image. Click
on the
new button. A window
will open where you can enter the path and file name of the image. Click
on the  button to search for a web address of an image as shown below.
The URL for images can not be changed in the main form. Instead you have to create an image with the new URL and delete the image based on the old URL.
To edit the URL, please use the TableEditor for the corresponding image table.
To use an image available as a local file click on the  open button to search in your local directories. You can
upload this file via a webservice to the server of an institution
providing the DiversityMediaService. To use
this service you may rename your image either using a GUID or according
to the accession number including date and time. Use the
open button to search in your local directories. You can
upload this file via a webservice to the server of an institution
providing the DiversityMediaService. To use
this service you may rename your image either using a GUID or according
to the accession number including date and time. Use the  upload button to upload your image to the server.
To delete an image select it from the list and click on
the  button.
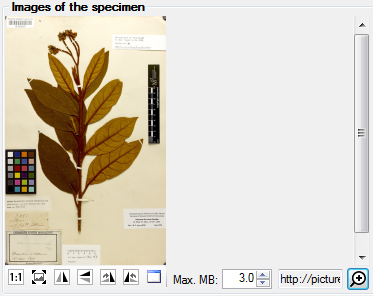
Setting the maximal size for an image
To prevent the application from becoming unresponsive due to large images, you can set the maximum size of images. If an image exceeds the specified size, it will not be displayed, and the size of the image will be displayed as shown in the figure below.
Orientation and zoom level of the images
To zoom a specific sector of an image simply drag the mouse over the
preferred area of the image. A red square will indicate the zoomed area.
To set the size of the image to its original resolution click on
the  button. To adapt the size of the image to
the available space in the form click on the
button. To adapt the size of the image to
the available space in the form click on the  button. To change the orientation of the image use the appropriate
buttons (
button. To change the orientation of the image use the appropriate
buttons (  flip horizontal,
 flip
vertical,
flip
vertical,  rotate
right,
rotate
right,  rotate left).
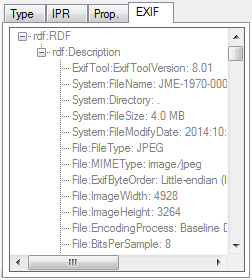
Using EXIF information for image orientiation
To correct the orientation of an image according to the rotation
documentend in the EXIF data, click on the ![]() button. The button will activate the orientation according to the EXIF information indicated by a yellow background
button. The button will activate the orientation according to the EXIF information indicated by a yellow background ![]() . An example is demonstrated in the video:
. An example is demonstrated in the video:
 .
.
Separte window for images
To view the image in a separate form click on the button.
Fixing path issues
For images with a path containing escape signs (e.g. %2F) the translation of these sign can be suppressed using the %2F resp. / button.
Withholding images
If the image should not be published e.g. on the internet, enter any reason in the Withhold. reason - field. Next to images you can store other media.
High resolution images
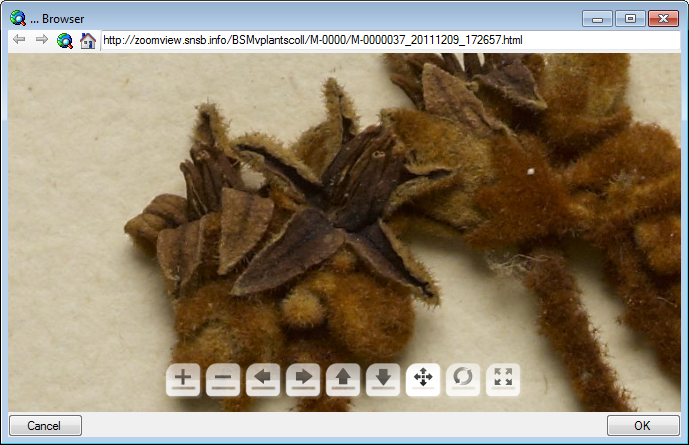
For images where a high resolution version is available, a zoom button
 will appear as shown below.
Click on the zoom button to open a window to see
details of the image as shown below (using krpano/
software).
Description of images
For the description of a medium see the chapter Imagedescription.
Datatables
Data is stored in the tables CollectionSpecimenImage, CollectionEventImage , CollectionEventSeriesImage and CollectionImage.


 and video
