Maintenance
Agents

Synchronize via URI
To synchronize the names of collectors, determinators etc. which are
linked to the module DiversityAgents choose Administration -
Maintenance from the menu. A window will open as shown below. On the
tab page Collection <→ Agents select the project for which the
agents should be synchronized. There are 9 tables which may contain
links to DiversityAgents:
Collection,
CollectionAgent,
CollectionEventLocalisation,
CollectionEventProperty,
CollectionSpecimen,
CollectionSpecimenProcessing,
Identification,
IdentificationUnitAnalysis
and Transaction. Choose one of
these tables for the synchronization. Then start the query with a click
on the  button. The type name is written
as defined by the default display type in the module DiversityAgents -
for more information please see the documentation on DiversityAgents.
button. The type name is written
as defined by the default display type in the module DiversityAgents -
for more information please see the documentation on DiversityAgents.
The form will list all differences found. To update the database click
on the  button. If you wish to have a more
detailed look on one of the data sets in the list, you need to check the
“Include accession number” checkbox before starting the query. A button
button. If you wish to have a more
detailed look on one of the data sets in the list, you need to check the
“Include accession number” checkbox before starting the query. A button
 will appear which will take you back to a
single data set in the database.
will appear which will take you back to a
single data set in the database.
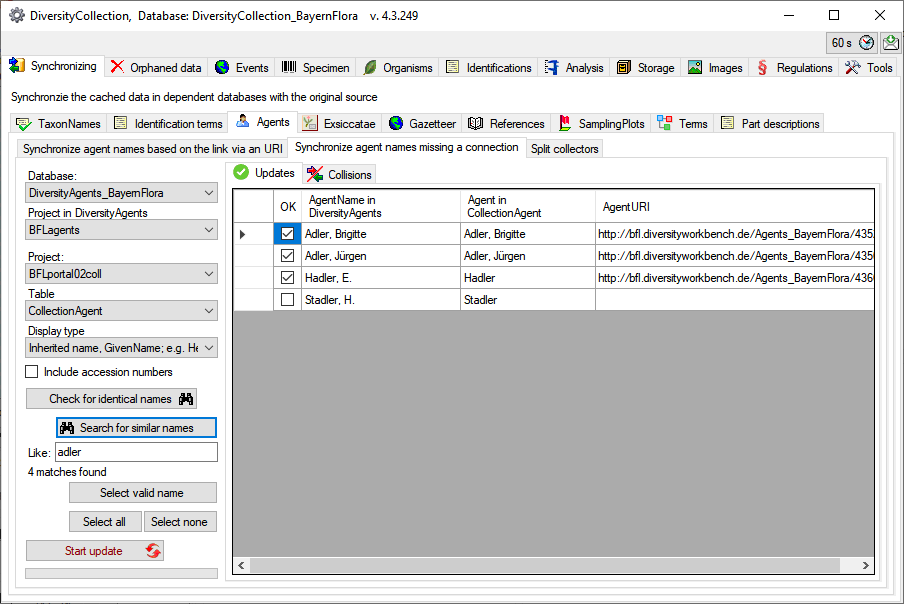
Search for possible links
You can either update the cached names for entries which are linked to
DiversityAgents as described above or you can search for possible links
based on the names as shown below. In addition to the options described
above you may choose the display type for the query to find any possible
match as names may be written like “Hertel, H.”, “H. Hertel” etc. 

Next to a search for identical names you can search for similar names.
Enter a search string in the
Like field and click on the  Search for
similar names button. The deteted datasets will be listed as
shown below. For those dataset where there are more than 1 possible link
in the DiversityAgents database you have to choose the correct link with
a click on the Select valid
names button.
Search for
similar names button. The deteted datasets will be listed as
shown below. For those dataset where there are more than 1 possible link
in the DiversityAgents database you have to choose the correct link with
a click on the Select valid
names button.
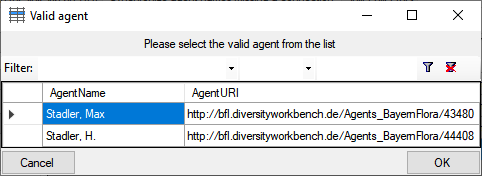
For those dataset where there are more than 1 possible link in the
DiversityAgents database you have to choose the correct link with a
click on the Select valid
names button. A window as shown below will open, where you can
select the valid name. Click on the  button to
show details of an agent.
button to
show details of an agent.
The dataset where the update collides with existing data will be listed
in the tab. Use the
Check selected
dataset button to inspect these data (see below).

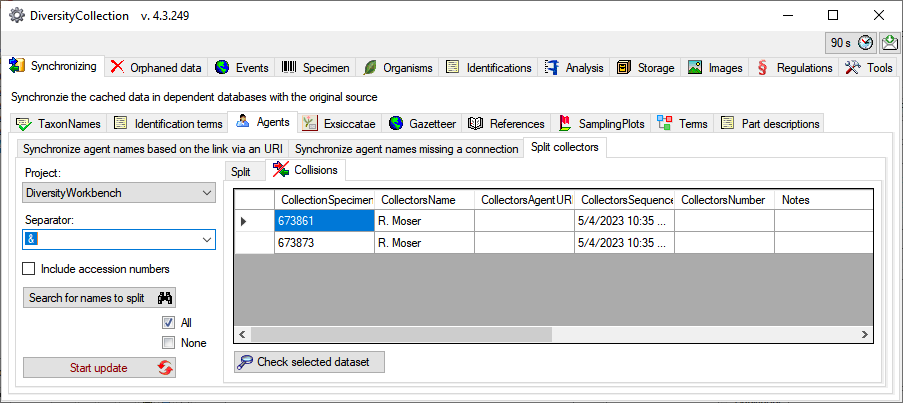
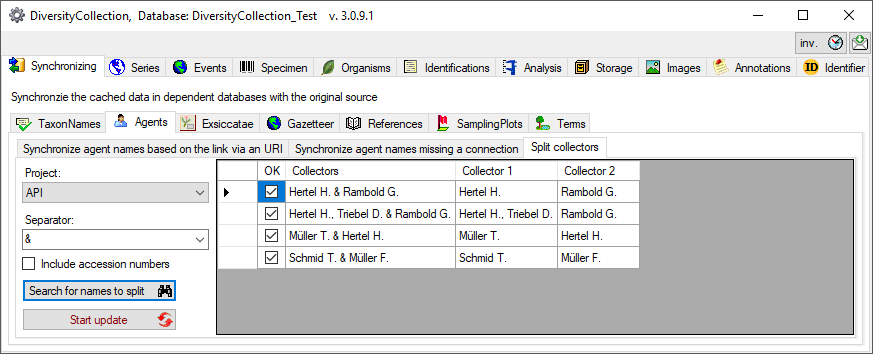
Splitting collectors
If the collectors had been written in one field with separators like &
you can split these to create a separate entry for every collector (see
below). Choose the project, enter the separator or select one of the
predefined separators and click on the Search for
names to split button. The result will be shown as in the example
below. Click on the  Start
update button to split the collectors. If several separators had
been used you have to do the splitting for every single separator.
Start
update button to split the collectors. If several separators had
been used you have to do the splitting for every single separator.
The dataset where the split collides with existing data will be listed
in the tab. Use the
Check selected
dataset button to inspect these data.