Wizard Tutorial
Import wizard - tutorial
This tutorial demostrates the import of a small file into the database. The following data should be imported (the example file is included in the software): At the end of this tutorial you will have imported several datasets and practiced most of the possibilities provided by the import wizard. The import is done in 2 steps to demonstrate the attachment functionallity of the wizard.
Step1 - Import of the collection events
Choose Data → Import → 

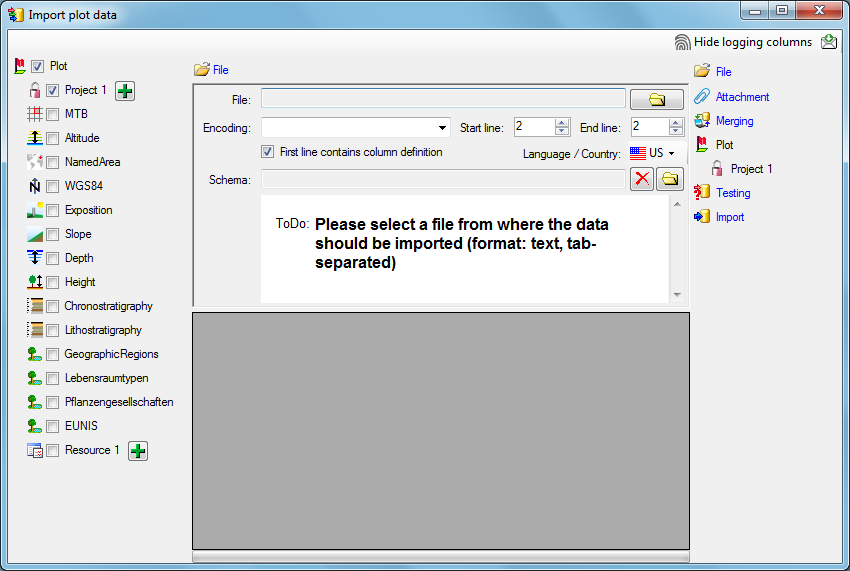
Choosing the File
As a first step, choose the 

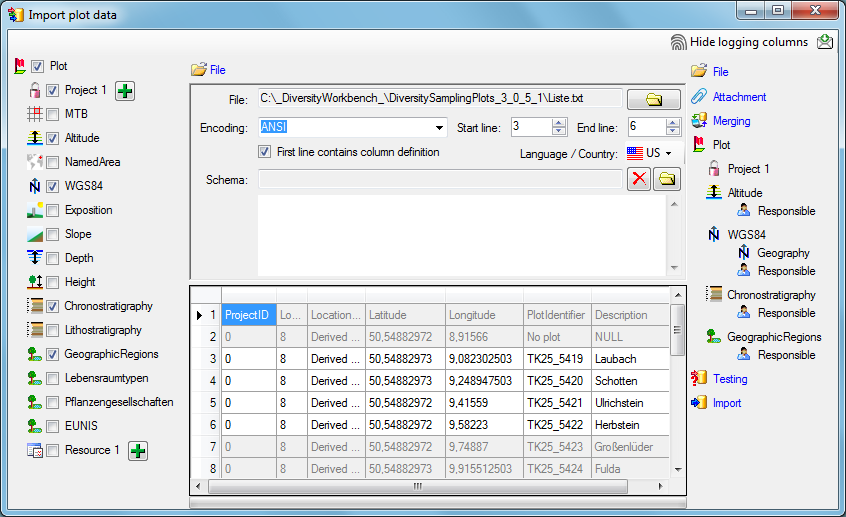
Choosing the data ranges
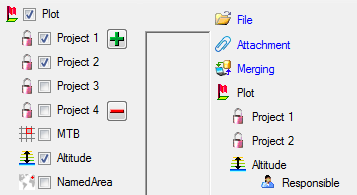
In the selection list on the left side of the window (see below) all possible import steps for the data are listed according to the type of data you want to import.
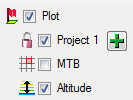
Certain tables can be imported in parallel. To add parallels click on
the 

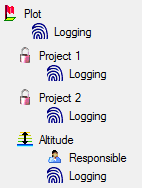
To import informations of logging columns like who created and changed
the data, click on  button in the header line.
This will include a additional substeps for every step containing the
logging columns (see below). If you do not import these data, they will
be automatically filled by default values like the current time and
user.
Attaching data
You can either import your data as new data or


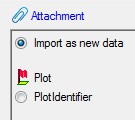
If you select a column for attachment, this column will be marked with a blue backgroud (see below and chapter Table data).

Merging data
You can either import your data as new data or
 Merge them wih data in the database. Select the import step
 Merge from the list. For every table you can choose between


The 
The 

The 

The 


Table data
To set the source for the columns in the file, select the step of a table listed underneath the Merge step. All columns available for importing data will be listed in the central part of the window. In the example shown below, the first column is used to attach the new data to data in the database.

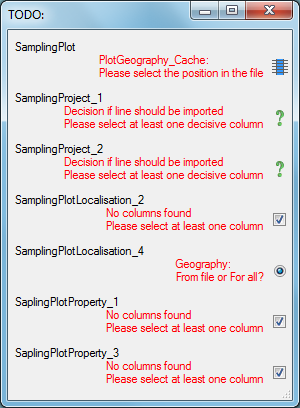
A reminder in the header line will show you what actions are still needed to import the data into the table:
- Please select at least one column
= No column has been selected so far.
- Please select at least one decisive column
= If data will be imported depends on the content of decisive colums, so at least one must be selected.
- Please select the position in the file
 =
The position in the file must be given if the data for a column should
be taken from the file.
 - Please select at least one column for comparision
= For all merge types other than insert columns for comparision with data in the database are needed.
- From file or For all
= For every you have to decide whether the data are taken from the file or a value is entered for all
- Please select a value from the list
= You have to select a value from the provided list
- Please enter a value
 = You have to enter a
value used for all datasets
The handling of the columns in described in the chapter columns.
Testing
To test if all requirements for the import are met use the

If finally all requirements are met, the testing function will try to write the data into the database and display you any errors that occurred as shown below. All datasets marked with a red backgroud, produced some error.
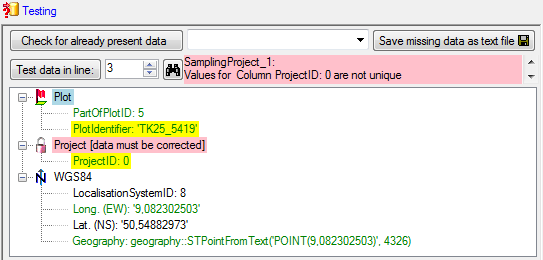
To see the list of all errors, double click in the error list window in the header line (see below).
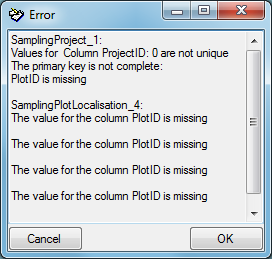
If finally no errors are left, your data are ready for import. The colors in the table nodes in the tree indicate the handling of the datasets: INSERT, MERGE, UPDATE, No difference. Attach, No data. The colors of the table colums indicate whether a colums is decisive , a key column or an attachment column.
Import
With the last step you can finally start to 
| Schedule for import of tab-separated text files into DiversityCollection | |||
| Target within DiversityCollection: Specimen | |||
| Schedule version: | 1 | Database version: | 02.05.41 |
| Lines: | 2 - 3215 | First line contains column definition: | ? |
| Encoding: | Unicode | Language: | de |
Tables
CollectionSpecimen
(CollectionSpecimen)
Parent: CollectionEvent
Merge handling: Insert
| Column in table | ? | Key | Copy | Pre | Post | File pos. | Transformations | Value | Source | Table |
|---|---|---|---|---|---|---|---|---|---|---|
| CollectionSpecimenID | Database | |||||||||
| AccessionNumber | ? | ? | 0 | File |
IdentificationUnit_1
(IdentificationUnit)
Parent: CollectionSpecimen
Merge handling: Merge
| Column in table | ? | Key | Copy | Pre | Post | File pos. | Transformations | Value | Source | Table |
|---|---|---|---|---|---|---|---|---|---|---|
| CollectionSpecimenID | Database | |||||||||
| IdentificationUnitID | Database | |||||||||
| LastIdentificationCache | ? | 2 | File | |||||||
| + | 3 | File | ||||||||
| + | 4 | File | ||||||||
| + | 5 | File | ||||||||
| TaxonomicGroup | ? | fish | Interface |
IdentificationUnitAnalysis_1_1
(IdentificationUnitAnalysis)
Parent: IdentificationUnit_1
Merge handling: Update
| Column in table | ? | Key | Copy | Pre | Post | File pos. | Transformations | Value | Source | Table |
|---|---|---|---|---|---|---|---|---|---|---|
| CollectionSpecimenID | Database | |||||||||
| IdentificationUnitID | Database | |||||||||
| AnalysisID | 94 | Interface | ||||||||
| AnalysisNumber | 1 | Interface | ||||||||
| AnalysisResult | ? | ? | 39 | File |
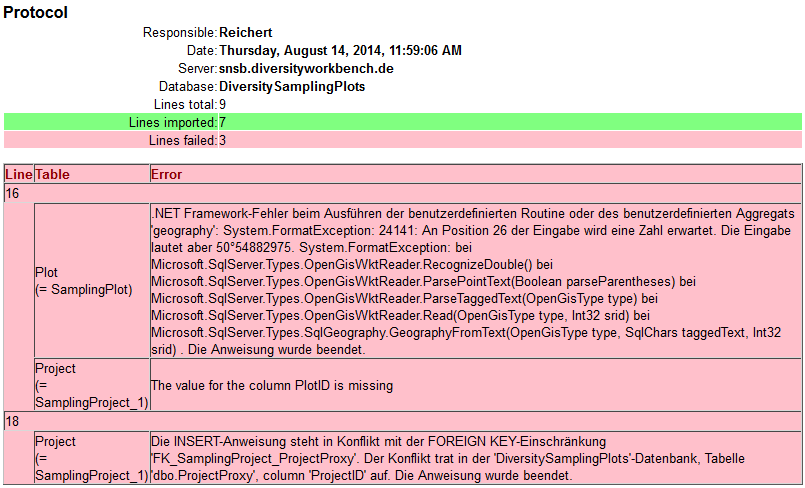
Lines that could not be imported will be marked with a red background while imported lines are marked green (see below).
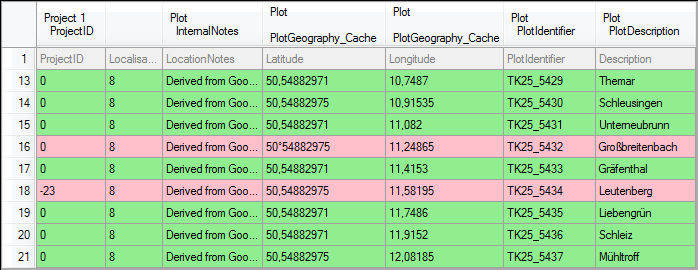
If you want to save lines that produce errors during the import in a separate file, use the Save failed lines option. The protocol of the import will contain all settings acording to the used schema and an overview containing the number of inserted, updated, unchanged and failed lines (see below).
