Diversity Collection

Task
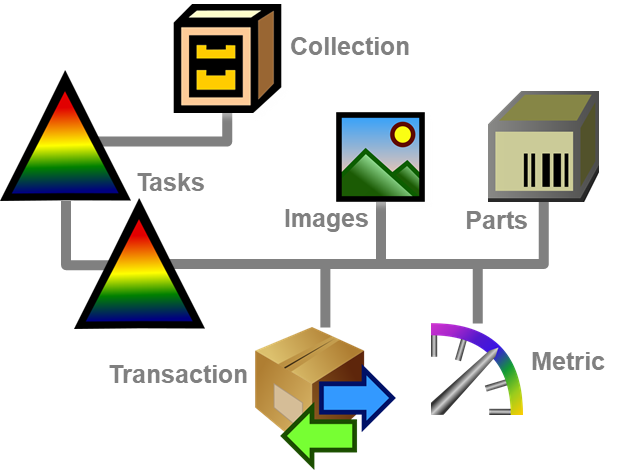
Main sectors
The image below gives you an overview of the main sectors related to the tasks.
Tasks are used for example to organize IMP within a
collection. The tasks possible for a collection are defined within the
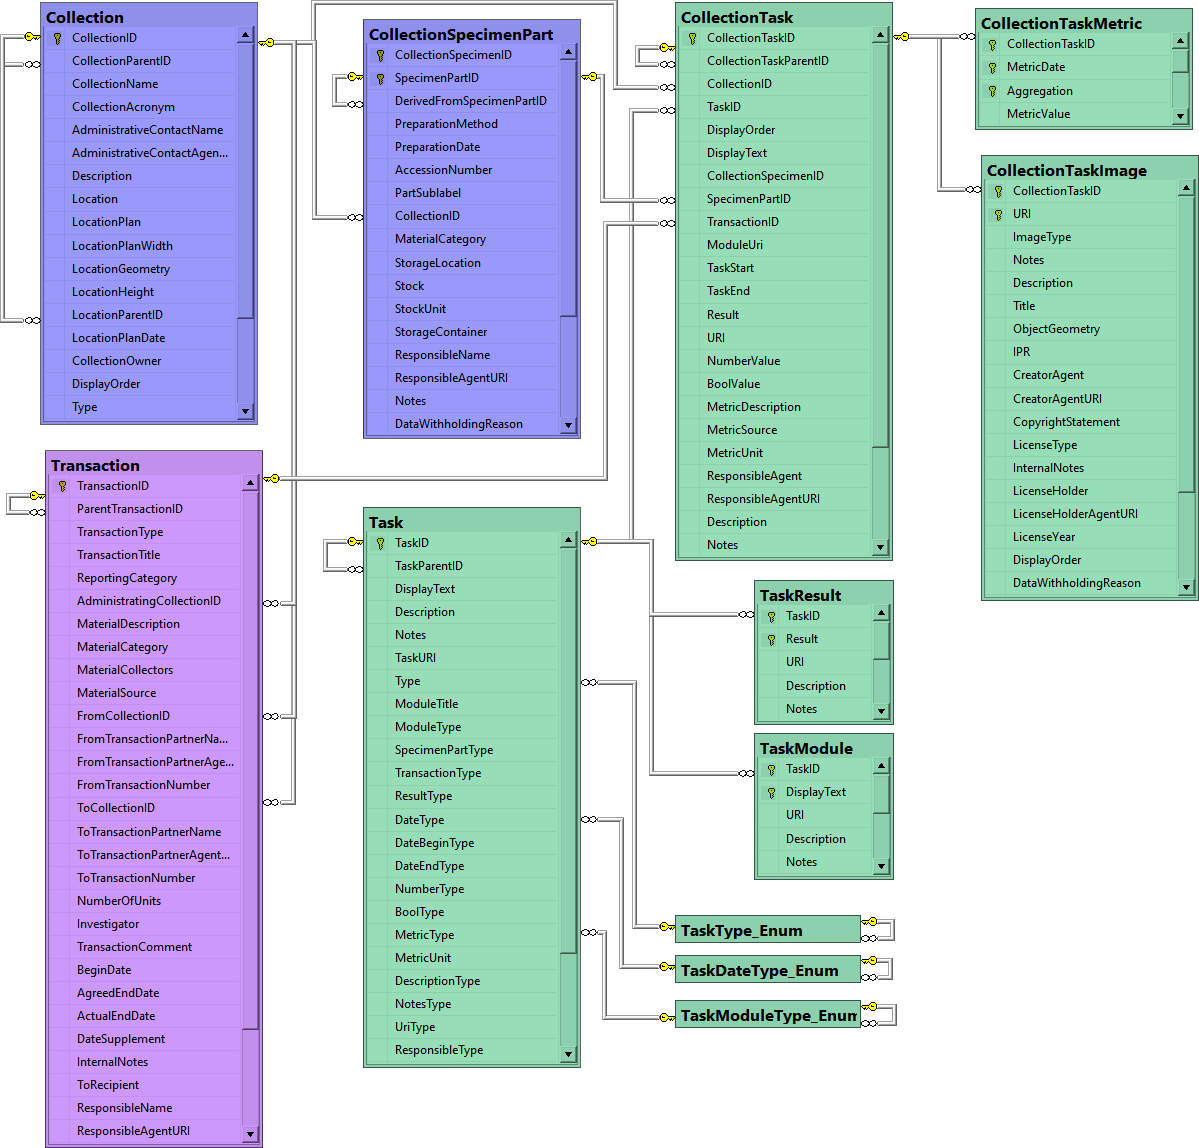
table Task. The tables related to tasks within a collection are shown in
the diagramm below. The table Task contains the
definitions for the tasks. The tables  TaskResult and
  TaskModule contain
predefined list for results resp. links to a DiversityWorkbench module.
Types for the tasks are defined in the table
TaskType_Enum. The table
TaskModule contain
predefined list for results resp. links to a DiversityWorkbench module.
Types for the tasks are defined in the table
TaskType_Enum. The table
 CollectionTask finally contains the
tasks for a collection, the table
CollectionTask finally contains the
tasks for a collection, the table  CollectionTaskMetric numeric values collected e.g. by a sensor and
the table
CollectionTaskMetric numeric values collected e.g. by a sensor and
the table  CollectionTaskImage holding any
related resources like images.
CollectionTaskImage holding any
related resources like images.
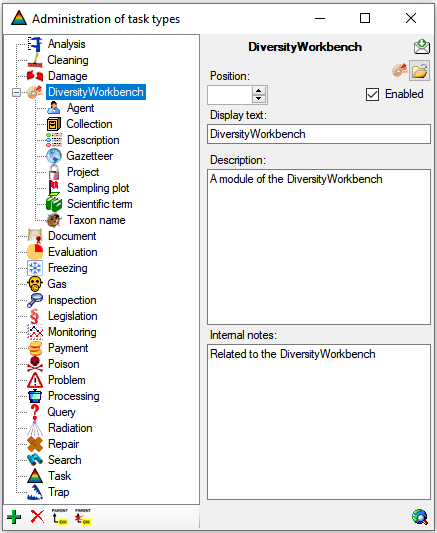
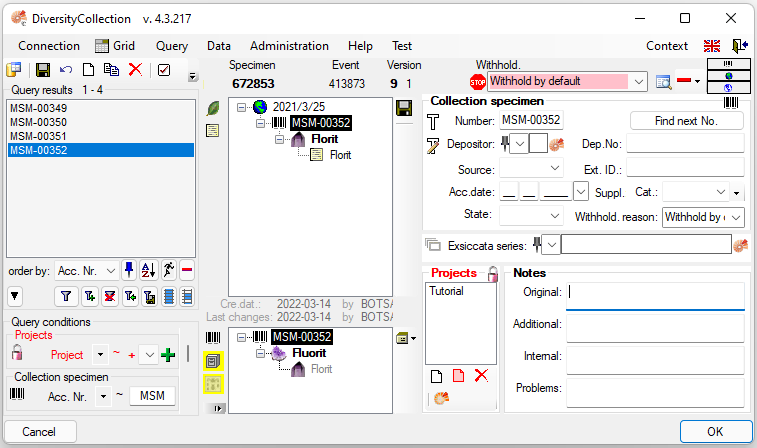
To define tasks, choose Administration -
Task from the menu. A window as shown below will open.
Menu
View
To show the site of the URI fo the task if available, choose show URI.
Import
To import data from a tab separated text file, choose
 from the menu. For further details see
chapter ImportWizard.
from the menu. For further details see
chapter ImportWizard.
Types
To edit types click on the button.
Table editor
To edit the data with the datatable click on the  button. For details check the
TableEditors section.
button. For details check the
TableEditors section.
Feedback
To send a feedback to the software developer click on the  feedback button.
History
To view the history of a dataset, click on the  history button. A window
with the history will open. For more details see the section
History.
history button. A window
with the history will open. For more details see the section
History.
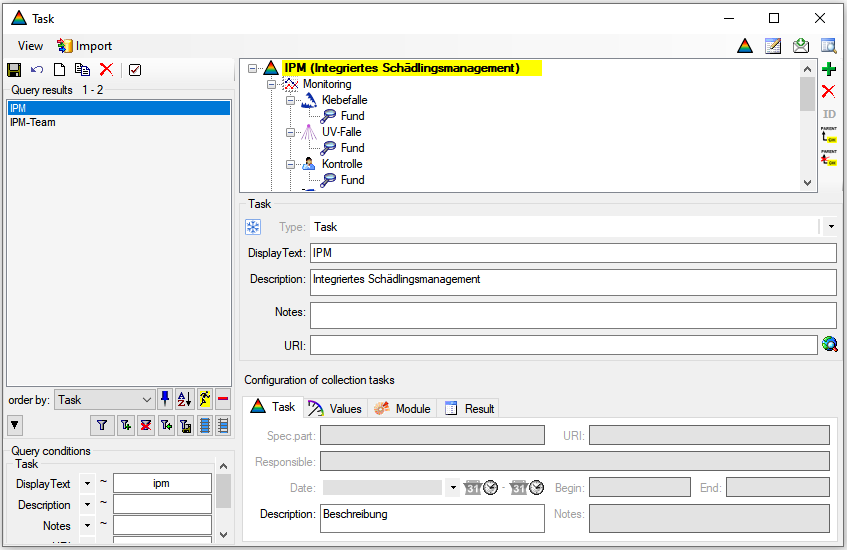
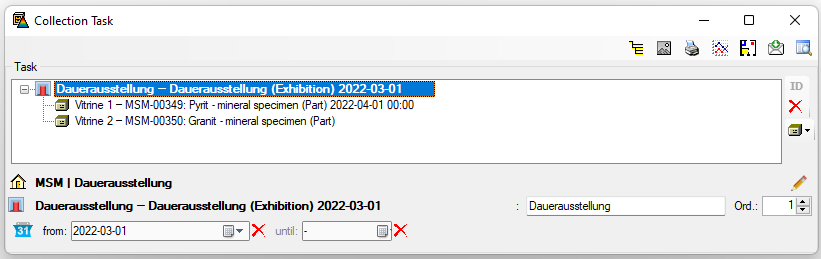
Details
The details of the task like e.g. type or display text are set in the upper part underneath the hierarchy (see above), the details for Collection tasks are defined in the lowest part. Only those properties that are specified by any text or definition are availabe for the depending collection tasks. There are several contents that are possible for a
Colletion task:
- Specimen part: If the collection task is related to a certain part of a specimen in the collection
- Transaction: If the collection task is related to a certain transaction
- URI: If the collection task should contain an URI, the description for the URI
- Responsible: If there is a responsible person or institution for a task, the corresponding description
- Date: If the collection task should contain a date and or time.
- You can choose among several options:
- Date
- Date from to
- Date & Time
- Date & Time from to
- Time
- Time from to
- Begin: If present, the description of the begin
- End: If present, the description of the endS
- You can choose among several options:
- Description: If the collection task should contain a desciption, the description for the desciption
- Notes:: If the collection task should contain notes, the description for the notes
- Metric:: If the collection task contains values collected from a
sensor e.g. via Prometheus, the description for the metric

- Numeric: If the collection task should contain a numeric value, the description for the numeric value
- Yes/No: If the collection task should contain a boolean value, the description for the Boolean value
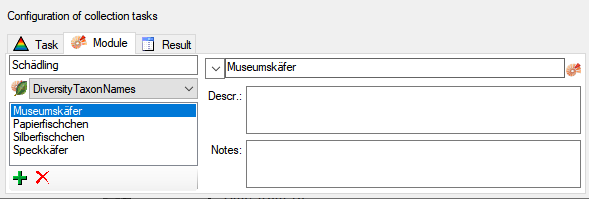
- Module: If the collection task should contain a link to a module
of the DiversityWorkbench, the description and the type of the
module. There are several modules for which links may be defined
- DiversitAgents
- DiversitCollection
- DiversitGazetteer
- DiversitProjects
- DiversitSamplingPlots
- DiversitScientificTerms
- DiversitTaxonNames
If the values should be taken from a list, the entries are defined
here as shown in the image below
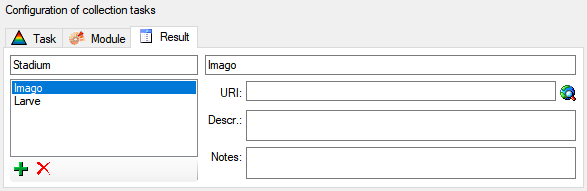
- Result: If the collection task should contain a text result, the
description for the result. Similar to the module you can provide a
list of values for selection as shown in the image below.
insert a new analysis to an organism select the organism in the upper tree. Then select the type of the analysis from the drop down list as shown below.


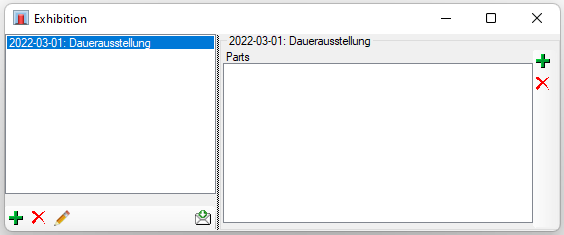
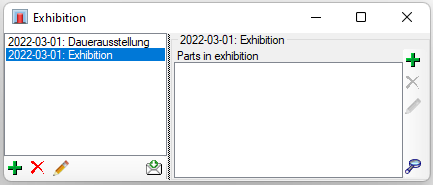
 add button in the
lower left. To remove a selected exhibition use the
add button in the
lower left. To remove a selected exhibition use the
 . To edit a selected exhibition use the
  edit button. To send any
feedback concerning exhibitions and this form, click on
the
edit button. To send any
feedback concerning exhibitions and this form, click on
the  button and select
the
button and select
the  User responsilbe for new
tasks option (see below).
User responsilbe for new
tasks option (see below).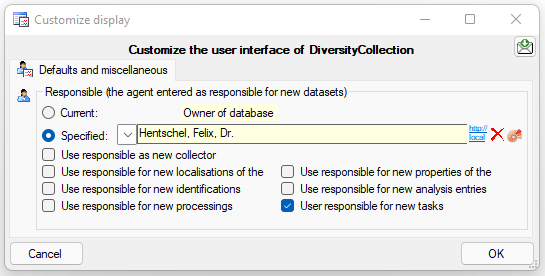

 button.
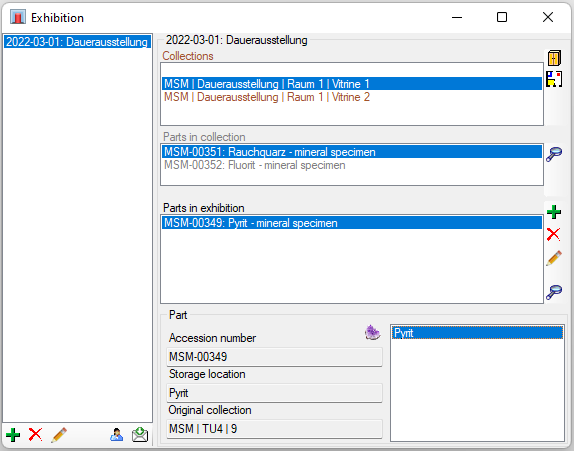
 button (see below). For more details see chapter
 generate report button. In the printer area you can generate and print reports either for all collections in the list or a single selected collection.
 open file button choose a schema applied for the report. There are several schemas provided by the software, but you can create some of your own. You can include
  create report button. To print it, use the
 for current exhibitions resp.
  for upcoming or past exhibitions.