Diversity Collection

Exhibition
The exhibitions are organized via Tasks. For a introduction
see a short tutorial
 .
DiversityCollection provides a predefined template if you want to
organize exhibitions in your collection. You can provide floor plans for
your collection and pinpoint the locations for
your exhibition. To edit exhibitions choose Administration -
.
DiversityCollection provides a predefined template if you want to
organize exhibitions in your collection. You can provide floor plans for
your collection and pinpoint the locations for
your exhibition. To edit exhibitions choose Administration -  Collection tasks - Exhibitions ... from the
menu. A window as shown below will open.
Collection tasks - Exhibitions ... from the
menu. A window as shown below will open.
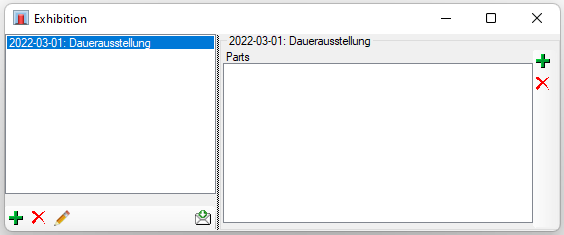
To add a new exhibition click on the  add button in the
lower left. To remove a selected exhibition use the
add button in the
lower left. To remove a selected exhibition use the
 . To edit a selected exhibition use the
  edit button. To send any
feedback concerning exhibitions and this form, click on
the
edit button. To send any
feedback concerning exhibitions and this form, click on
the  button (see above).
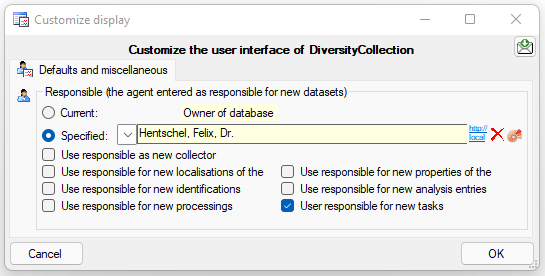
To set the default responsible for actions within the exhibition resp.
collection tasks, click on the  button and select
the
button and select
the  User responsilbe for new
tasks option (see below).
User responsilbe for new
tasks option (see below).
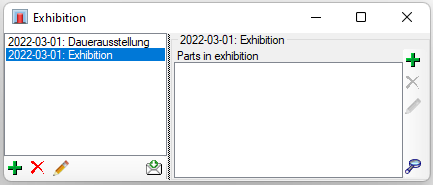
Exhibitions
To add an exhibition click on the add button in the
lower left. A window as shown below will open.

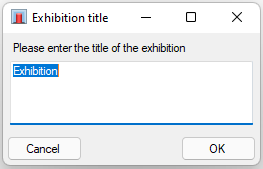
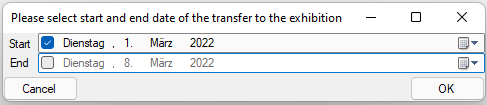
You may enter the start and end of the exhibition. Next you will be asked for the title of the exhibition (see below).
Next you have to select a location within the collection where the exhibition will be placed and as last step the timeperiod for the transfer of the part in the exhibition (see below).
Now the new exhibition will be shown in the list (see below).
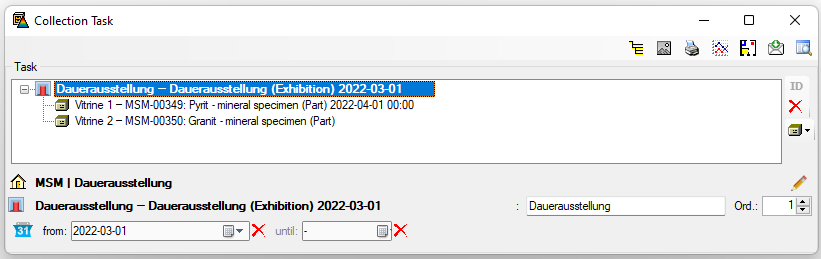
To edit a selected exhibition use the edit button. A
window as shown below will open, where you can edit the details of the
exhibition. For further information see chapter Collectiontask.
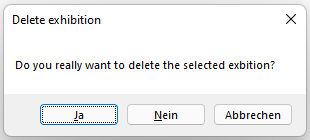
If you want to delete an exhibition use the
button. You will be asked before the exhibition and all it depending
entries will be removed from the database (see below).
Parts
To add parts to an exhibition, click on the add button
for the parts. A window as shown below will open, where you can set the
begin and / or end of the transfer into the exhibition.
Next you have to select a location within the collection where the part will be placed (see below).
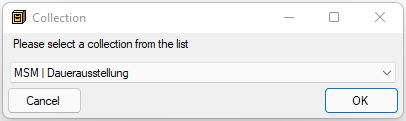
A window for selecting the parts will open (see below)
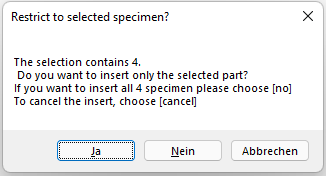
If the list contains more than 1 specimen you will be asked if you want to insert all specimens in the list. You may choose to expand the inserted specimen from only the selected to the whole list (see below).
If there the list contains parts that are placed within the selected collection, the program will inform you that these parts will not be inserted in the exhibition as they are already there.
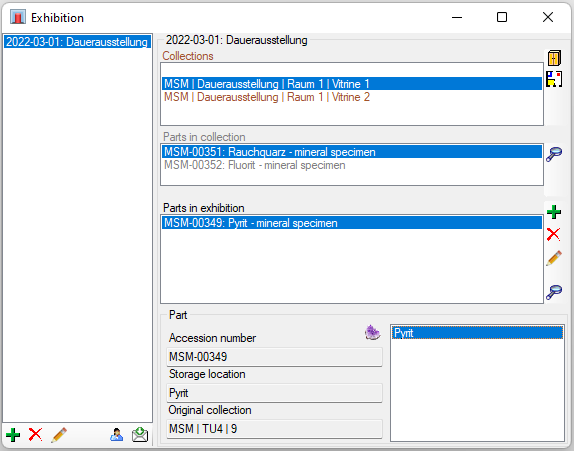
The new parts will than be inserted into the exhibition. Select a part
in the list to see the details (see below). For more details, click on
the  button.
Collections
As soon as there are parts available the Collections will be listed in the upper right. Select the first empty line to show all parts transferred into the exhibition. If you select a collection, the displayed parts will be restricted to this restricted. If there are parts with their primiary location in the selected collection these will be listed directly below the collections (see below).
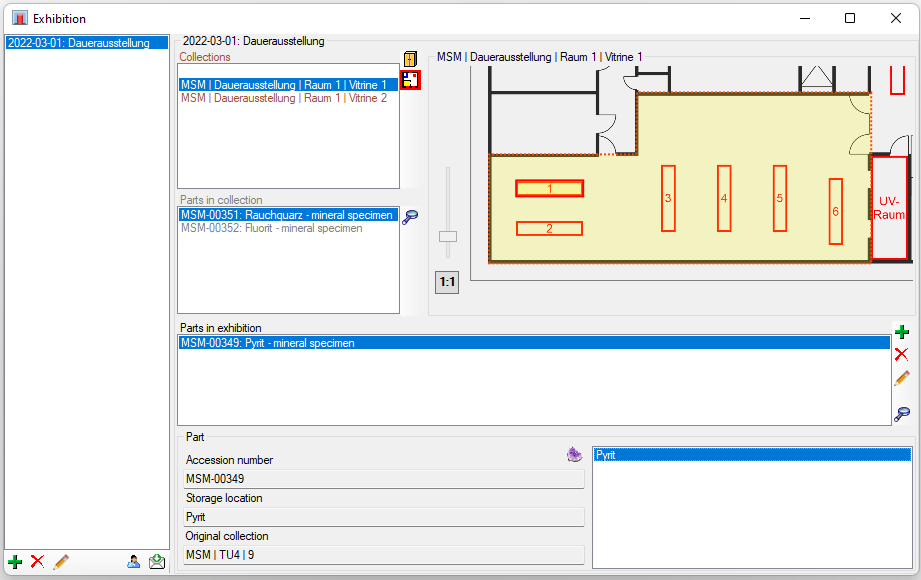
Plan
To see the plan of a collection, click on the  button (see below). For more details see chapter
Collection.
button (see below). For more details see chapter
Collection.
Printing
To print an overview of the parts in an exhibition, click on the  generate report button. In the printer area you can generate and print reports either for all collections in the list or a single selected collection.
The collection hierarchy selects the part (e.g. a room) for which the report will be created. You can choose the time range for the report.
If no Schema is selected plain xml will be generated. With the  open file button choose a schema applied for the report. There are several schemas provided by the software, but you can create some of your own. You can include plans of your collection.
To create the report, click on the  create report button. To print it, use the button.
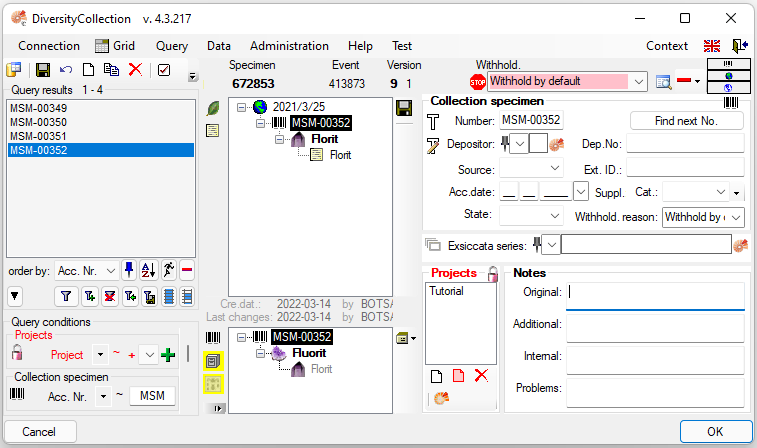
Overview
In the main window of the application the exhibition is only visible if the display of the tasks is activated. With a click on the  button it will change to
  and the exhibition will be visible in the tree. Depending on the timespan for the exhibition the displayed icon will be
  for current exhibitions resp.
  for upcoming or past exhibitions.