Transactions
Prerequisites
The transfer of a specimen
between collections is
handled with transactions. There are two prerequisites to
use transactions in DiversityCollection.
You are required to be in the user group CollectionManager (see UserAdministration)
and the collections in which you
have the right to handle
transactions must have been assigned to you is shown in the
CollectionManagers
section.
Historical development
To create charts for the historical
development see chapter Charts.
Visibility of
transactions
A specimen may be involved in
diverse transactions
between collections like loan, purchase, gift or exchange. The
transactions are
shown in the tree for the parts of a specimen and symbolized
with e.g. an
 icon. For specimens which are still on loan an
 icon is shown while a returned loan is symbolized with an
 icon (see image below). A data embargo will be symbolized with an
 icon. If there are older
accession
numbers linked to a specimen involved in a transaction, these
numbers can be
documented together with the entry of the transaction of the
respective part of
the specimen.
icon. If there are older
accession
numbers linked to a specimen involved in a transaction, these
numbers can be
documented together with the entry of the transaction of the
respective part of
the specimen.
To customize the sequence and format of the
transactions shown in the tree, choose Administration -> Customize display
... from the menu and see the chapter customize for further details.
As an administrator you can edit and add entries to the
Standard comments for transactions click on the button
 in the header.
For details see chapter customize.
in the header.
For details see chapter customize.
If you are a CollectionManager,
you may take a look at the
details of a transaction. Select the specimen part in the
tree and click on the
button which will be shown in the details next to the name
of the transaction. This
will open the window for the transactions as described
below.

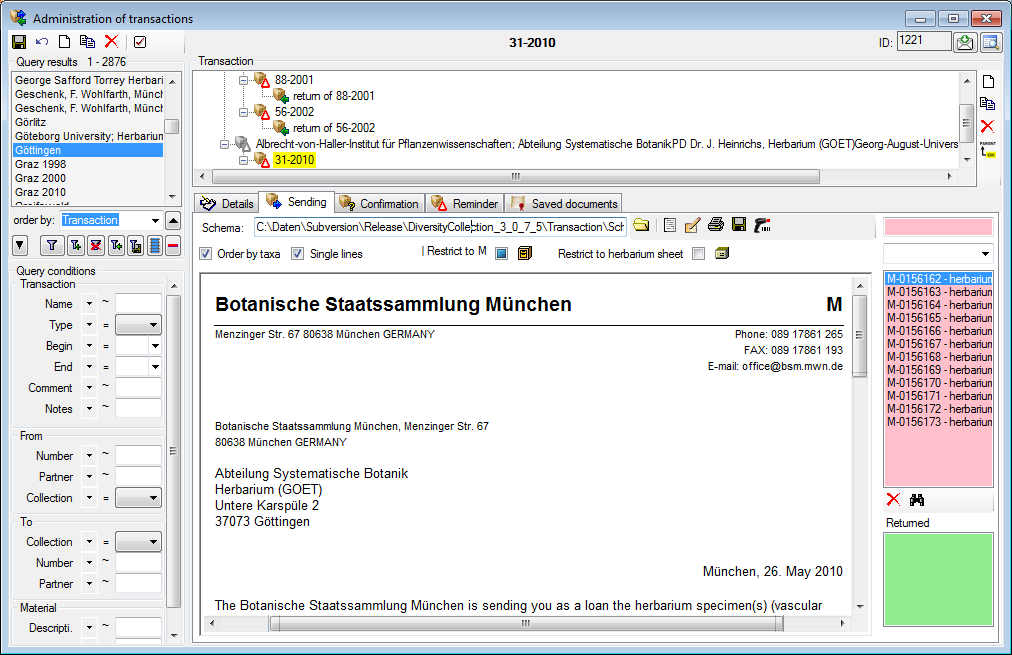
To edit the transactions choose
Administration
- Transactions from the menu. A window will open as
shown below. In the tree at the top the
relations between the transactions are shown. To create a transaction
dependent
on another transaction choose the superior transaction in the tree and
click on
the  button in the panel right of the tree. With the
 button you may create a copy of a transaction. To delete a specimen from
the list
click on the
button you may create a copy of a transaction. To delete a specimen from
the list
click on the  button. To transfer all selected specimen in an existing transaction
choose Data
->
button. To transfer all selected specimen in an existing transaction
choose Data
->
 Transfer ->
To transaction... from the menu and choose the
transaction where
the specimen with all their parts should be included. In two
following dialogs
you may restrict the transferred parts to a certain collection or
material
category. The data for the transactions is stored in the tables
Transaction
and
CollectionSpecimenTransaction.
Transfer ->
To transaction... from the menu and choose the
transaction where
the specimen with all their parts should be included. In two
following dialogs
you may restrict the transferred parts to a certain collection or
material
category. The data for the transactions is stored in the tables
Transaction
and
CollectionSpecimenTransaction.
The ID of the transaction is shown in the header.
Behind the ID the button
 may appear in
case of missing units in parts which e.g. for the creation of
sending letters may cause unexpected results. Click on the
button to
open the maintenance for fixing this problem.
With the
may appear in
case of missing units in parts which e.g. for the creation of
sending letters may cause unexpected results. Click on the
button to
open the maintenance for fixing this problem.
With the
 button you can send a
feedback to the software developer. To view the history of a data set
click on the
button you can send a
feedback to the software developer. To view the history of a data set
click on the
 button. A
window with the
history will open. For more details see the section History. The button will open the settings for the transaction.
The
button. A
window with the
history will open. For more details see the section History. The button will open the settings for the transaction.
The  button opens a table editor for the
selected transactions. For large hierarchies the retrieval from the database may
be time consuming. To hide the hierarchy use the
button opens a table editor for the
selected transactions. For large hierarchies the retrieval from the database may
be time consuming. To hide the hierarchy use the  botton resp.
  to show the hierarchy. The list for the
specimen may be shown
to show the hierarchy. The list for the
specimen may be shown  or hidden
.
or hidden
.
Data entry

On this page you may
edit the data of a transaction. Every transaction is
linked to an administrating collection (symbolized by the
key
 ) and can be edited exclusively by CollectionManagers
of this collection. To appoint managers
choose Administration - Managers from the
menu.
) and can be edited exclusively by CollectionManagers
of this collection. To appoint managers
choose Administration - Managers from the
menu.
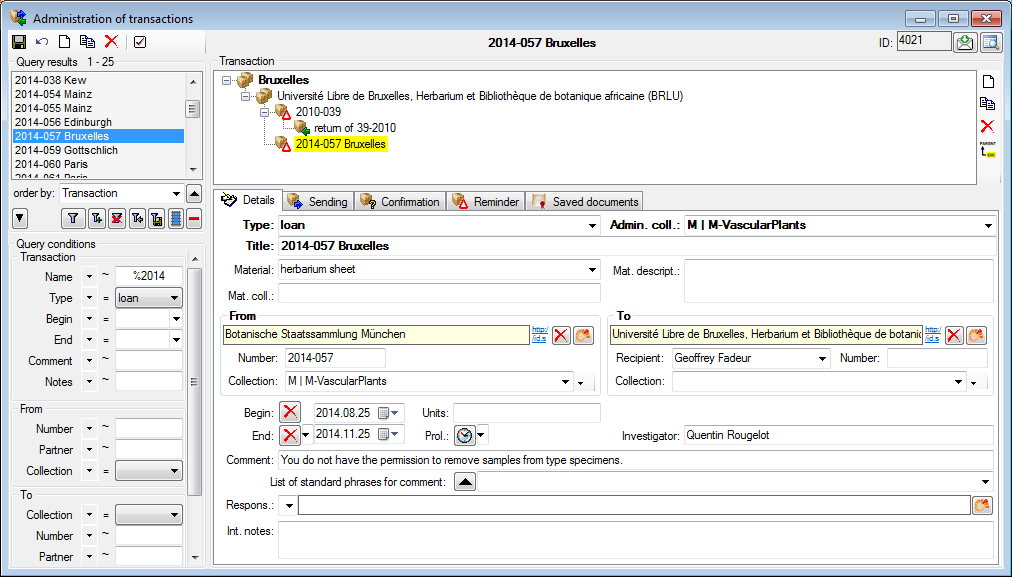
The
transactions can be
organized in a hierarchy as shown in the image above, if e.g.
you wish to
keep together all loans to a certain institution. To create a
transaction of an
inferior transaction choose the superior transaction in the tree
and click on
the
button
in the panel at the right side of the tree. To create of copy of
a transaction,
use the
button
and the
button to delete it. If you want to change the position within the
hierarchy, select the transaction and click on the
 button. A window will open
where you can select the new parent. Depending on the type of transaction you have up to 3
dates, e.g. for a loan you have a begin date, an end date and in case of a
prolongation an end date of the prolongation.
button. A window will open
where you can select the new parent. Depending on the type of transaction you have up to 3
dates, e.g. for a loan you have a begin date, an end date and in case of a
prolongation an end date of the prolongation.
There are the following
types of transaction:
| Transaction type |
Description |
embargo  |
Temporary data embargo for specimen that should not be published within the specified period |
exchange
 | the exchange of specimens between institutions |
gift
 | the gift of specimens to an institution |
inventory
 | the inventory of specimens within an institution |
loan
 | the loan of specimens of an institution to an external loan taker |
permanent loan
 | permanent loan of specimens of an institution to an external loan taker |
permit
 | permit or certificate for the collection of specimen |
purchase
 | the purchase of specimen by an institution |
regulation
 |
a regulation concerning a specimen in a collection |
removal
 |
a removal of a specimen from a collection |
return
 | a complete or partial return of a loan
|
transaction group
 | an entry to organize your
transactions
|
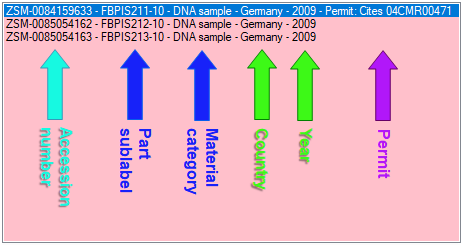
The fields display in the
Details tab will vary with the type of the
transaction as e.g. an embargo does not need any address information. For the addresses use
the links to the module DiversityAgents as shown in the image above. You may
optionally enter a collection and the program will then use the corresponding
address as described below. As the recipient of e.g. a loan may not be entered
in DiversityAgents, you can enter the name of the person directly in the To-address.
The use of the collection as a reference in the From and To
section is deprecated. Please use a link to the module DiversityAgents instead.
If you need these controls please open the settings
and select the
 Show all address
fields option.
Show all address
fields option.
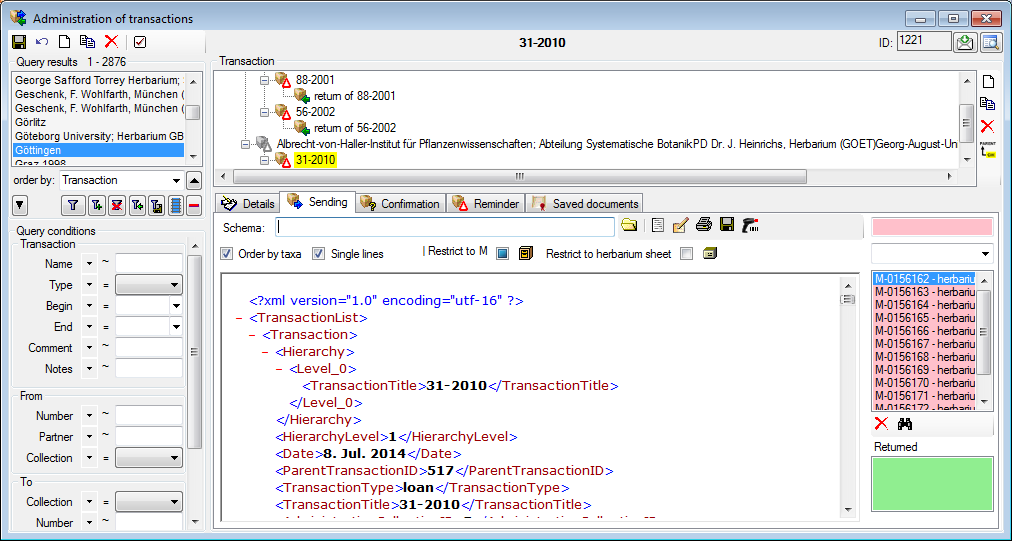
Common notes
On the tab pages for
generating documents you need to specify a xml-schema for
your document. Click
on the
 button to choose one of the predefined schemas or create
your own. To
edit the schema files (*.xslt) you may use a text editor or
software like e.g.
EditiX. If you
do not specify a schema for
your form (i.e. the field for the path of the schema is
empty
- see below), you will see the XML output created by the
database as shown below.
button to choose one of the predefined schemas or create
your own. To
edit the schema files (*.xslt) you may use a text editor or
software like e.g.
EditiX. If you
do not specify a schema for
your form (i.e. the field for the path of the schema is
empty
- see below), you will see the XML output created by the
database as shown below.
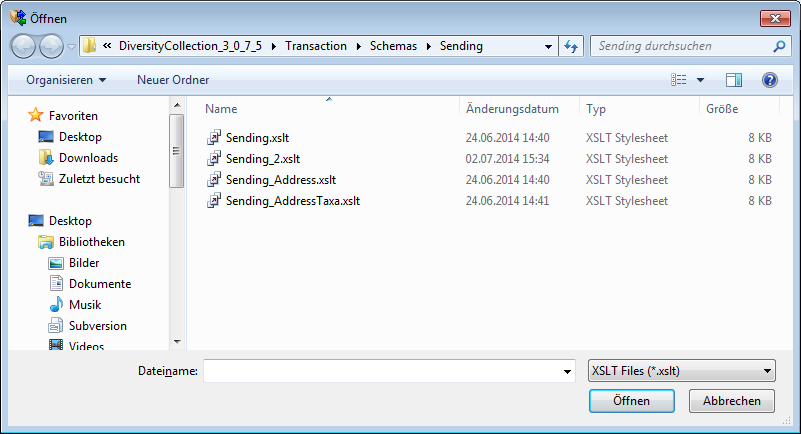
To choose a
schema click on the
button and select a schema from the list.
DiversityCollection contains several ready
to use schemas in the folder Transaction -
Schemas - Sending.
Feel free to
change these schemas
according to your own needs (editors are available e.g. from
http://www.altova.com/).
Choose the schema you need and click on the
 button to create a document. To print the document use the
 button. To store the current document for later reference in
Documents click
on the
button. To store the current document for later reference in
Documents click
on the
 button. An example for a document is
shown below.
button. An example for a document is
shown below.
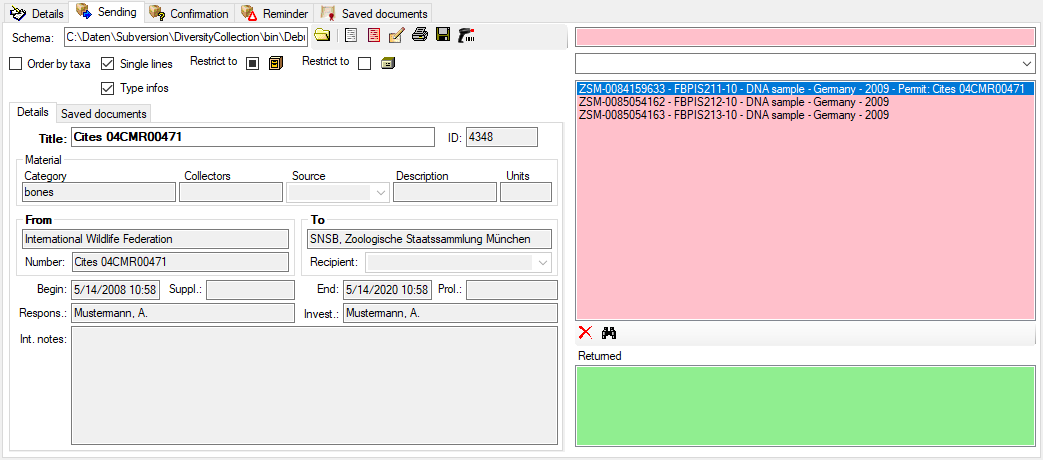
The
specimens will be listed
with their accession number, an optional
label of the part,
the material category and if available the
country and the
collection year to ensure discrimination in case a specimen contains
more than one part. If available a
permit will be shown at the last position
(see image below).
In the sending
list - to see the details of a permit - click on the line containing
the permit. The details will for the permit will be shown as in the
example below.
Finding addresses
The addresses used for the
documents are taken from the module DiversityAgents, where addresses are stored.
Therefore the entries must at some point be linked to an entry in this module.
The program will try to find an address as shown below: First the transaction
partners (from ... and to ...) will be checked. If no
address is available (e.g. if the transaction partner is not linked to an entry in
DiversityAgents), the program will
try to find an
address in one of the superior transactions from the transaction
partners found
there. If no address exists in these transactions, the program
will try to get
an address from the collections. Therefore, a transaction
partner linked to
DiversityAgents is only necessary if either there are no
addresses for the
collections or you wish to use a different address. The search
path as described
is summarized in the image below.

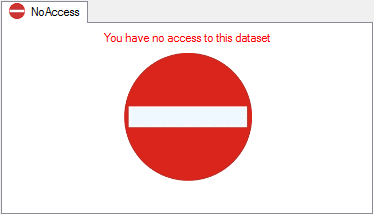
No Access
If the data contain
datasets, where you have no access to, this will be indicated as shown below.
The access to the data rely
on the result of the view TransactionList, combining the transactions with
missing administrating collection and those where the current user is a member
of the group CollectionManager with allowance for the collection where the
transaction is administrated. Transactions within a hierarchy to which the user
has no access will be displayed with gray titles .