Tutorial
Training database
For the first steps we provide a training installation on:
training.diversityworkbench.de,5432
Please turn to the development team for a login.
To use a module from the DiversityWorkbench framework, such as “DiversityCollection”, you need access to a database. If you do not yet have an account for your institutional DWB platform, please contact your institution’s DWB administrator. If you wish to set up and use your own personal, institutional, domain-specific, or research-group-internal database environment, you will find instructions here.
Connect to a database
-
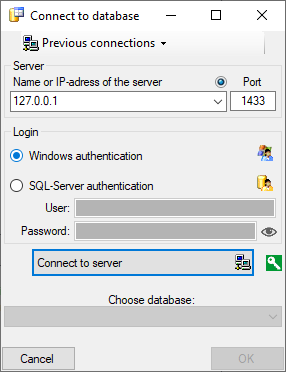
At the top left of the main window, go to Connection → Database … or click the Connect button
 . A dialog form “Connect to database” opens.
 -
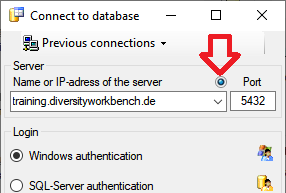
In the “Server” section, add the server name or the IP address and the port number.
-
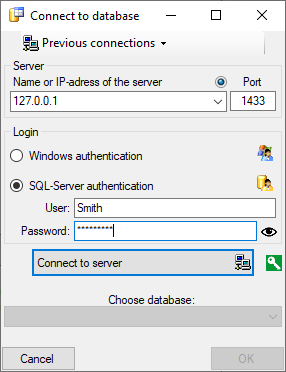
In the “Login” section, choose an option:
-
Windows authentication: Using the Windows Login information.
-
SQL-Server authentication: User and password as defined in the database.
-
-
Click on the Connect to server button.
-
If the connection information is valid, you can Choose a database from the drop-down list at the bottom.
-
Choose the database you want to work with and click OK.
-
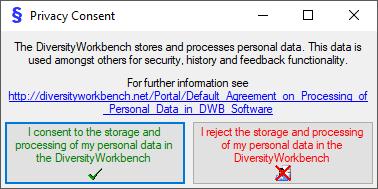
If you access a database for the first time, you will be asked to consent to the storage and processing of your personal data (see below) according to the General Data Protection Regulation. Without your consent the access is not possible.
Important The standard port number for SQL-Server is 1433 and is set as default. If the database server is configured to use a different port, you must change the port number in the port input field.
Previous connection
If you have been connected to a database in previous sessions, you can select one of these connections:
- At the top of the “Connect to database” dialog form, click on the Previous connections button
 .
. - Select a connection from the drop-down list. This inserts the name or IP address and the port in the corresponding input fields in the server section.
- To log into a database, proceed as described above starting from step 3.
Testing a connection
To test the connection, you can send a ping by clicking the button  .
.
As a first step the IP resp. Server will be tested. If the connection to the server is successful, the port will be tested as a second step.
Switch between databases
- At the top left, go to Connection → Database … or click on the Connect button .
- If you are already connected to a server, you can select a database from the drop-down list Choose database at the bottom of the dialog box.
Reset and Cancel
Reset: If you are connected to a server, there is a Reset button below the “Login” section of the “Connect to database” dialogue box. Click the Reset button to change your server or login settings.
Cancel: If you do not want to change anything, click on Cancel.
Encryption
By default, the connection to the databases is encrypted.
The icon  next to the Connect to server button indicates an encrypted connection.
By clicking on the icon, you can switch to an unencrypted connection, indicated by the icon
next to the Connect to server button indicates an encrypted connection.
By clicking on the icon, you can switch to an unencrypted connection, indicated by the icon  .
.
Videos
- Login to a database:
 .
.
Editing
The main forms of all modules have a design as shown below
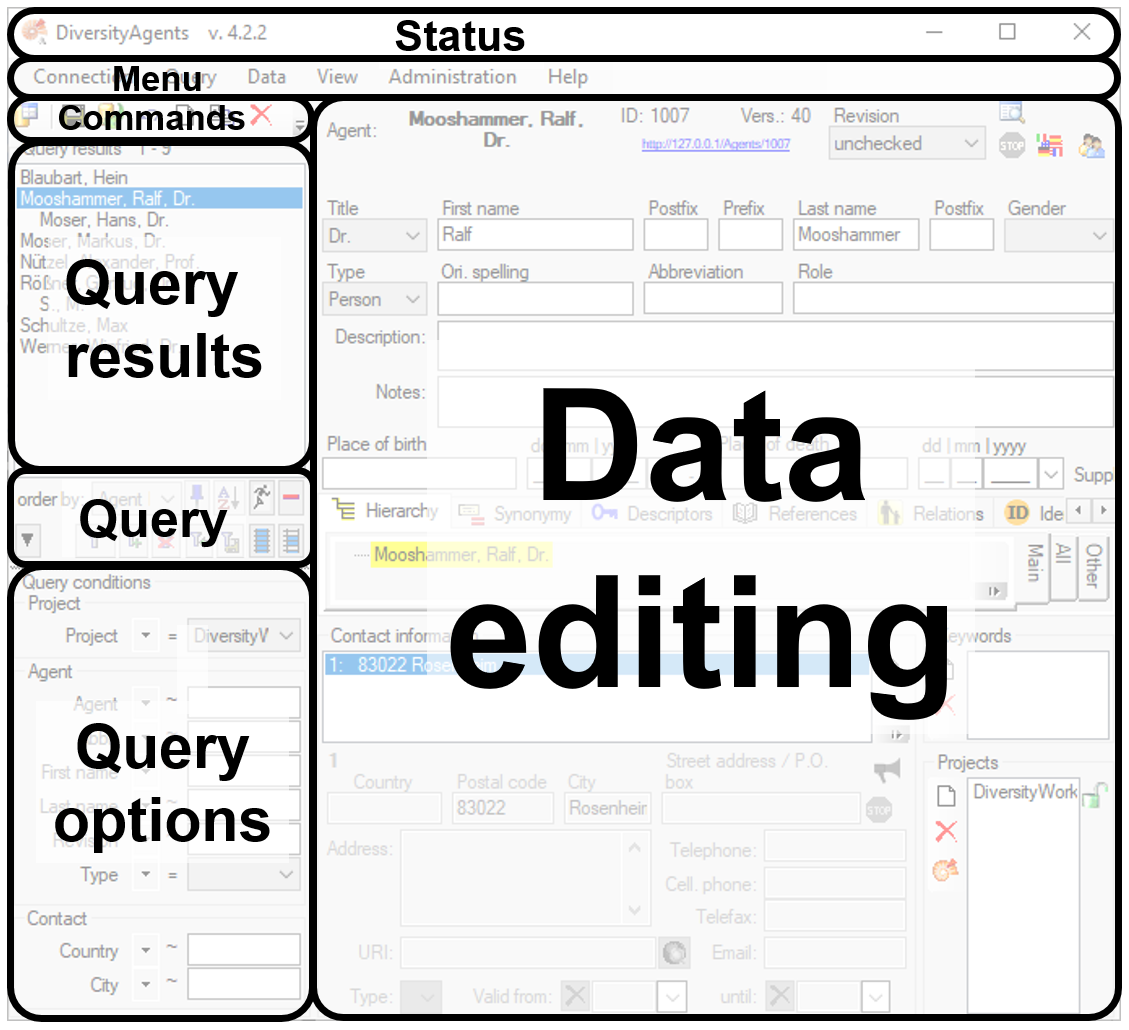
Status
In the status area you find
- The name of the module,
- The name of the database if different fron the module
- The version of the software
Menu
The menu contains the options provided by the module
Commands
The commands area contains buttons for e.g. handling the data:
- - To connect to a database click on the
button.
 - To save the changes in a dataset click on the
button.
- To save the changes in a dataset click on the
button. - To propagate the changes in a dataset to linked modules click on the
button.
- To propagate the changes in a dataset to linked modules click on the
button. - To undo the changes a dataset click the undo button. This will recover the original data unless the changes had been
saved or changes were done in certain tables or hierarchies were the
data must be stored to display the
hierarchy.
- To undo the changes a dataset click the undo button. This will recover the original data unless the changes had been
saved or changes were done in certain tables or hierarchies were the
data must be stored to display the
hierarchy. - To create a new entry in the database, click on
the new button below the
search result listbox. This will create a entry with the specimen and
show it in the list.
- To create a new entry in the database, click on
the new button below the
search result listbox. This will create a entry with the specimen and
show it in the list. - To copy a specimen, choose it from the list and click on the button
.
- To copy a specimen, choose it from the list and click on the button
. - To delete the selected datasets click on the
button.
- To delete the selected datasets click on the
button. - To options a dataset click on the button
.
- To options a dataset click on the button
. - To change the arrangement of the query click on the
resp.
- To change the arrangement of the query click on the
resp.
 button.