Wizard Advanced Tutorial Step 5

Step 5 - Import of resources for descriptors
Close the import wizard for the mapping data and the import session
window. Now choose Data -> Import -> Wizard
->
Wizard
->  Import resources ->
  Descriptor resources … from the menu. A window as shown below will
open to select an import session. Select the session for project
“Deemy”.
Descriptor resources … from the menu. A window as shown below will
open to select an import session. Select the session for project
“Deemy”.
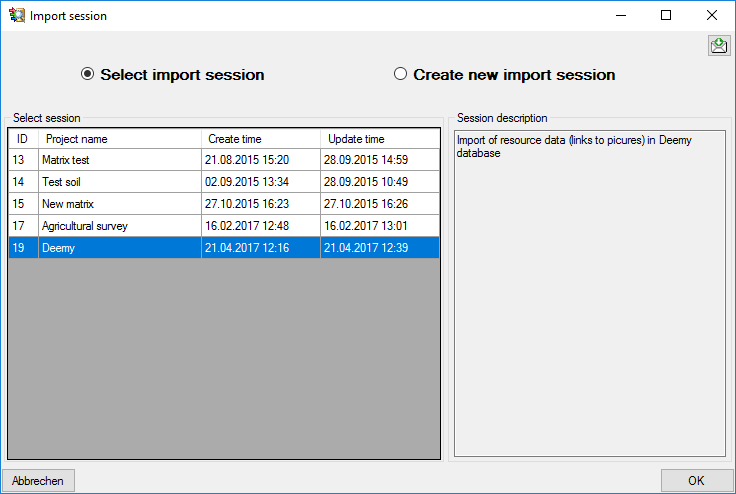
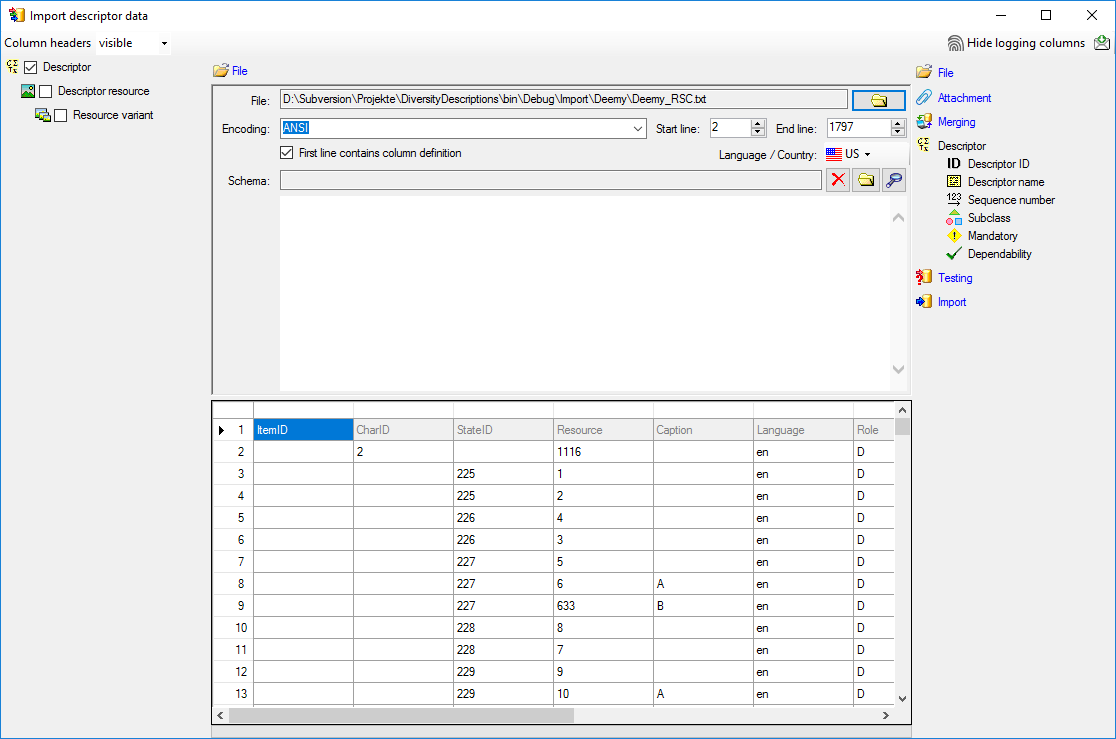
After clicking [OK] the following window opens that will lead you through the import of the descriptor resource data. Open file “Deemy_RSC.txt” (see below).
Selecting the data ranges
In the selection list on the left side of the window all possible import
steps for the data are listed according to the type of data you want to
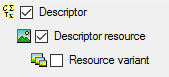
import. The step  Descriptor is already
selected, additionally check the step
Descriptor is already
selected, additionally check the step  Descriptor resource (see below).
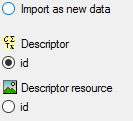
We attach the descriptor resource values to the descriptors, therefore
we will not change anything in the descriptor but will attach data. In
import step  Attachment at the right
side select
Descriptor
Attachment at the right
side select
Descriptor
 id (see below).
Select the import step  Merge from the list.
For
Merge from the list.
For  Descriptor we select the
 Attach option because this tables shall not
be changed, for the other step
Attach option because this tables shall not
be changed, for the other step  Insert
should already be selected, because a new entry has to be inserted (see
below).
Insert
should already be selected, because a new entry has to be inserted (see
below).

In the step table at the right side you find the import steps
Descriptor and
Descriptor resource and below them the data groups of the import
steps. Deselect every column from import step
Descriptor except “id”. Mark the “id” column as  Key column for comparison during attachment and click on
 From file to select the column
“CharID” as data source. The “id” column of import step
Descriptor now looks as shown below.
From file to select the column
“CharID” as data source. The “id” column of import step
Descriptor now looks as shown below.

In the import step
Descriptor resource
click on  Resource ID and in the center window the
assignemt data for the resource id (“id”) are displayed. Click on
Resource ID and in the center window the
assignemt data for the resource id (“id”) are displayed. Click on
 to make this the decisive column, further click
on From file to select the column
“Resource” as data source. After that the column should look as shown
below.
to make this the decisive column, further click
on From file to select the column
“Resource” as data source. After that the column should look as shown
below.

Click on  Resource name. The center window
shows the data column “label”. Click on
Resource name. The center window
shows the data column “label”. Click on  From file in the “label” line to select file column “Resource”. After
the resource number the value in data column “Caption” shall be
inserted, included in brackets, if it is present. Click on the
From file in the “label” line to select file column “Resource”. After
the resource number the value in data column “Caption” shall be
inserted, included in brackets, if it is present. Click on the
 button at the end of line “label” and select column
“Caption”. Enter ( (blank and opening
bracket) in field Pre.: and ) in
field Post.: of the new line. After that the column should look as
shown below.
button at the end of line “label” and select column
“Caption”. Enter ( (blank and opening
bracket) in field Pre.: and ) in
field Post.: of the new line. After that the column should look as
shown below.

Finally click on  Sequence number. In the
center window select the data column “display_order”, click on
From file and select file column
“DisplayOrder” (see below).
Sequence number. In the
center window select the data column “display_order”, click on
From file and select file column
“DisplayOrder” (see below).

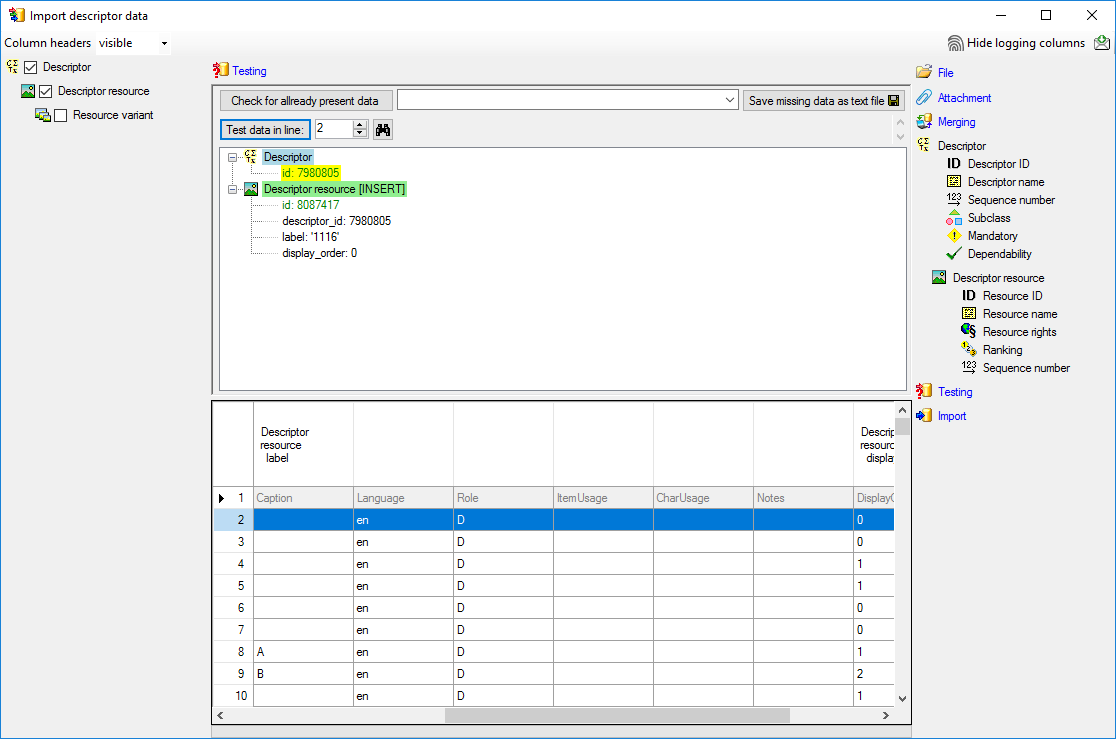
Testing 
To test if all requirements for the import are met use the
 Testing step.
The test for the first data line is shown below.
Testing step.
The test for the first data line is shown below.
Import 
With the last step you can start to import the data into the database. If you want to repeat the import with the same settings and data of the same structure, you can save a schema of the current settings. There are 86 lines that were not imported due to duplicate entries (see below).
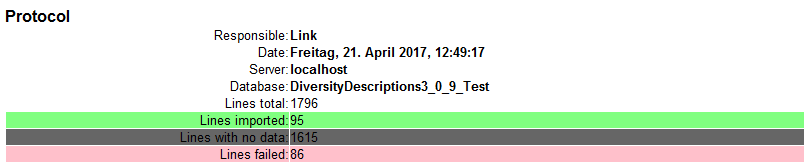
The failed lines are caused by duplicate entries, i.e. the resource was already imported for the descriptor.