Edit Descriptor

Editing the descriptor
After starting a database query and selecting an entry in the result
list the dataset is diplayed in the edit window. In the header area the
dataset name is shown (see picture below). Below the header area the
descriptor name may be edited in a text box and the sequence number
(No.) can be set, which determines the display order in descriptor
lists. Changes of the descriptor name will be visible in the header
after saving the dataset. To check dataset changes, click on the
 button to open the history.
The main descriptor data may be accessed in the first Main attributes tab, which is described below. Click on one of the other tabs in the picture below to go directly to the appropriate manual chapter.
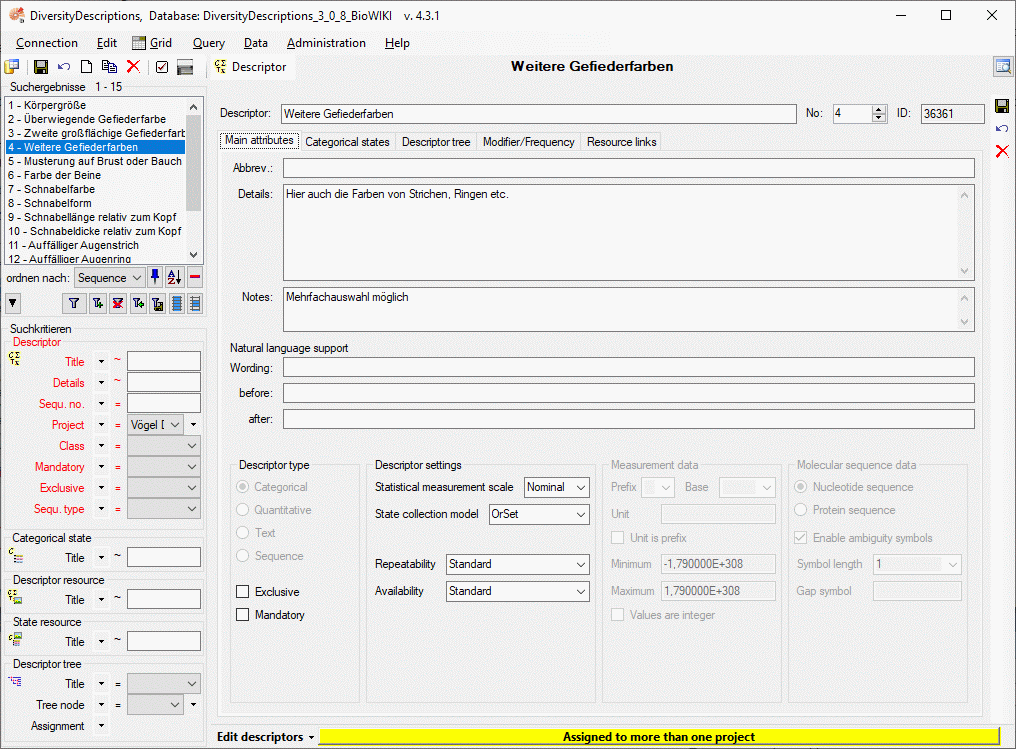
Main attributes tab
The main attributes tab provides access to an abbreviation, a detailled descriptor text, notes and wording information for natural laguage descriptions. In the bottom area the Descriptor type, Descriptor settings, Measurement data (only for quantitative descriptors) and Molecular sequence data (only for sequence descriptors) can be adjusted. The descriptor type can only be modified, if the descriptor is not referenced by any description. If the descriptor type “Categorical” is changed, already entered categoricalstates will be deleted.
The check box Exclusive (only for categorical descriptors) indicates that only one state shall be specified in a description. Check box Mandatory indicates that for this descriptor always data shall be specified. Statistical measurement scale specifies for categorical descriptors, if the states are unordered (e.g. red/green/blue) of ordered (e.g. bad/medium/good). For quantitative descriptors it specifies if intervals or ratios are measured. Repeatability and Availability specify how reliable (different measurements or scorings by different observers) and accessible the descriptor is, e.g. for identification.
For quantitative descriptors the Unit of the measurement values my be specified either by directly entering the string or alternatively by selecting a Prefix (e.g. “k” for “kilo” = 1000) and the Base unit (e.g. “g” for “gramm”). Unit is prefix indicates that the measurement unit preceeds the measurement value. Minimum and Maximum specify the absolute range limits expected for the measurement values. If in a description specific values, e.g. “Mean”, exceed these limits, a warning will be shown. Values are integer indicates that dedicated values, e.g. “Min” or “Max”, are expected to be integer values. Take care that statisical measures like “Mean” certainly may be real numbers. If this condition is violated in the description data, a warning will be displayed.
For sequence descriptors the sequence type Nucleodide sequence or Proteine sequence must be selected. Enable ambiguity symbols determines if in the sequence data ambiguity symbols like “S” for “C or G” in nucleotide sequences, are allowed. In case of protein sequences the Symbol length may be chosen from one letter sybols (e.g. “A” for “Alanine”) and three letter symbols (e.g. “Ala” for “Alanine). The Gap symbol is a symbol that indicates gaps of unspecified length and must meet the selected symbol length.
Project assignement
Descriptors are not directly assigned to a project, instead descriptortrees are used. One descriptor may be included in several descriptor trees and therefore belong to several projects or it might be unassigned. In both cases dedicated hints will be displayed at the bottom of the application window (see pictures above and below).

You can easily find descriptors that are not included in any descriptor
tree by setting “Descriptor tree” → “Assignment” to “Ø” in the search
criteria. By opening the Descriptor treetab these descriptors may be easily inserted
into a tree by selecting the tree (node) and clicking
 .
.
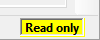
If the actually selected descriptor is referenced by more than ony project and not all of the projects can be modified by the actual user, the descriptor data cannot be changed, which will be indicated at the lower right corner of the application window (see above).
Continue with:
- Edit descriptors - Categorical states tab
- Edit descriptors - Descriptor tree tab
- Edit descriptors - Modifier/Frequency tab
- Edit descriptors - Resource links tab