Tutorial Sort Descriptors
Tutorial - Sort the descriptors
In the tutorial steps when we created a new descriptor, we usually set
the field “Nr.” (sequence number), which determines the sequence the
descriptors are displayed in several lists, e.g. when you enter
description data. If you like to change that display sequence, it is
quite uncomfortable, to go through all descriptors and change the
sequence numbers manually, but there is a much more comfortable way.
Select edit mode projects from menu Edit->Projects or from the
bottom control (see point 1 in image below). Now click on the

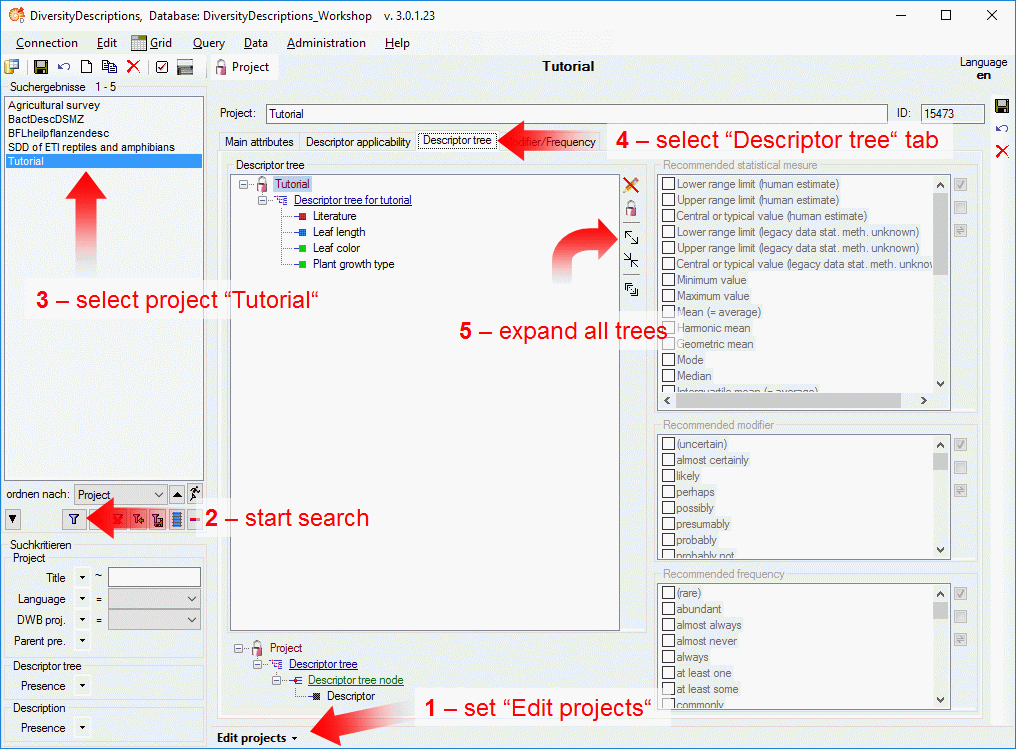
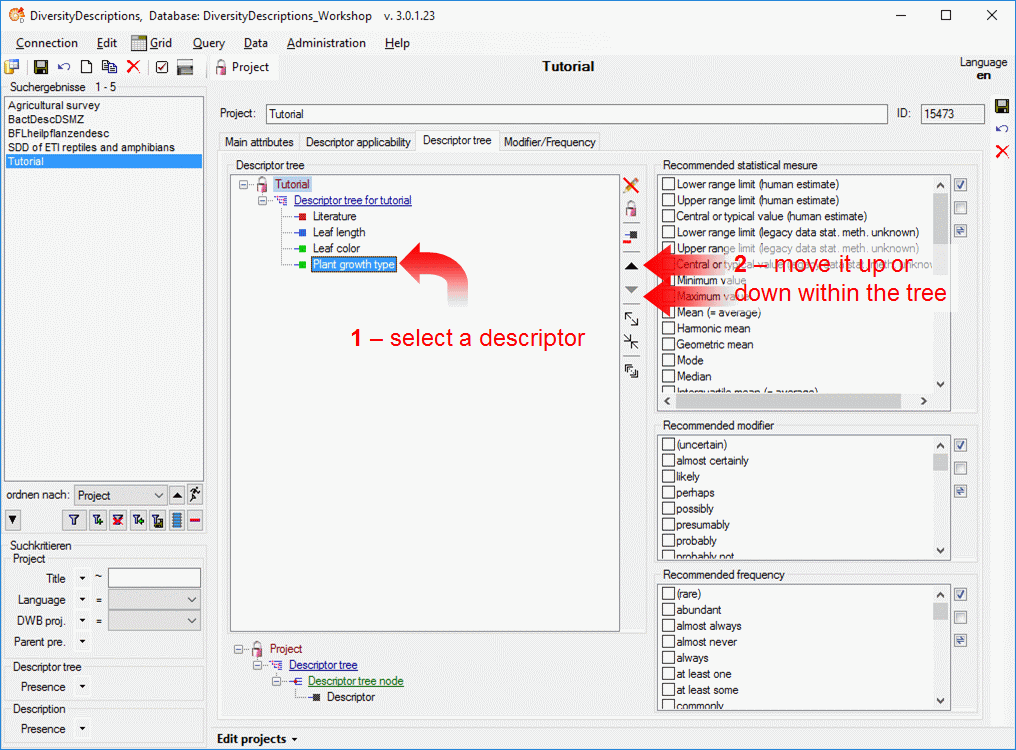
The “Descriptor tree” tab in the “Edit projects” mode looks almost like that one in the “Edit descriptors” mode. But there are some important differences. If you are in the “Edit descriptor” mode, only the actually selected descriptor will be displayed in the tree. In the “Edit projects” mode all descriptors are diplayed! Therefore the descriptors may now be shifted up and down to change the order (see points 1 and 2 in image below).
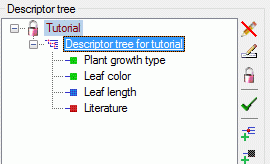
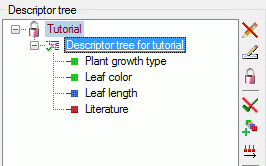
Now select the “Descriptor tree for tutorial” and click button
 (see image below left). With this action you indicate
that this descriptor tree should be complete, i.e. it contains all
descriptors for the project. Now the additional button
 is displayed that allows to take over of the
descriptor tree order to the descriptor’s sequence numbers (see image
below right).
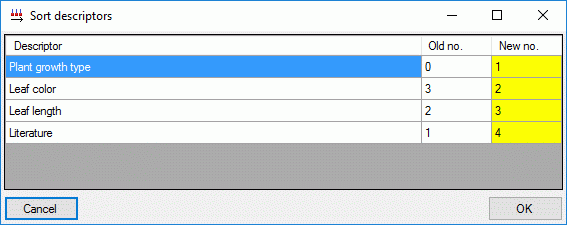
When you click on button  a window opens that
displays the changed sequence numbers of the descriptors (see imabe
above). After confirming the changes with “OK” the new order will be
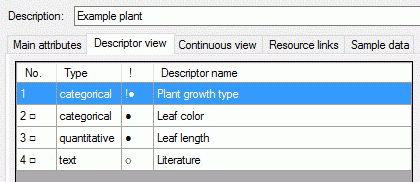
effective in the descriptor list of the “Edit descriptions” (see image
below).
This tutorial is continued in the sections listed below.
- section Assign modifiers
- section Enter descriptor dependencies