Tutorial
Tutorial - first steps
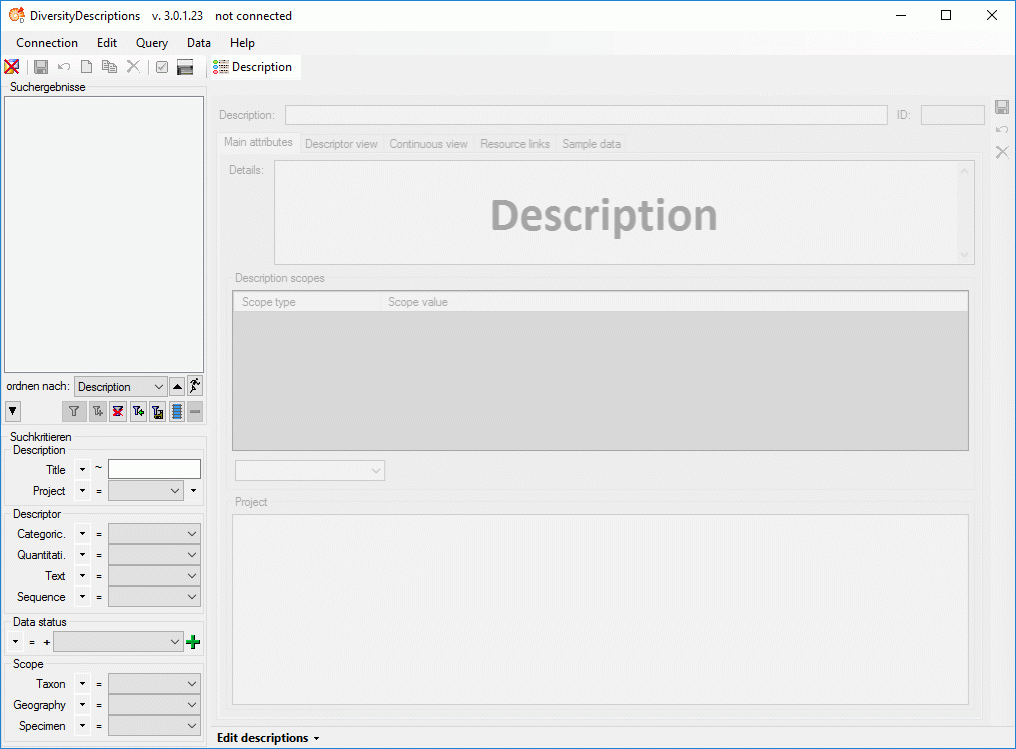
This tutorial will guide you through the first basic steps in
DiversityDescriptions. After the installation, make
sure you have access to the database. To start the
programm double click on the 

In this tutorial it is assumed that you installed a local database
server and are running DiversityDescriptions with the
DiversityDescriptions_Worshop database available at our training server.
If you are running a private environment with sufficient rights, you may
create an empty DiversityDescriptions database. If
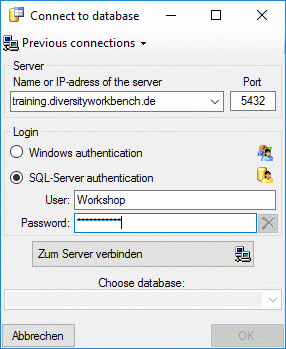
you open this window for the first time, you need to connect to the
database. Click on the 

After connecting to the server and choosing a database click on the
OK button to return to the main form. As indicated by the


Tutorial files
For DiversityDescriptions a number of tutorial files are available that
provide examples, e.g. for using the matrix import
wizard. The whole example demonstrated in the
following pages is available as an SDD file and can easily
imported. To copy the tutorial files into your
resources directory select Administration->

This tutorial is continued in the sections listed below.
- section Create a new project
- section Enter a text descriptor
- section Enter a quantitative descriptor
- section Enter categorical descriptors
- section Enter description data
- section Searching the database
- section Generate an HTML document
- section Sort the descriptors
- section Assign modifiers
- section Enter descriptor dependencies