Diversity Collection

Tutorial
First steps
This tutorial will guide you through the basic steps to enter a single dataset in DiversityCollection.
Before you begin, you must have the DiversityCollection client installed and have access to a database. For more information, see chapter Installation and Access to the database.
To start the programme, either select the application from the Start menu or double-click on  DiversityCollection.exe in the directory where you copied the DiversityCollection files.
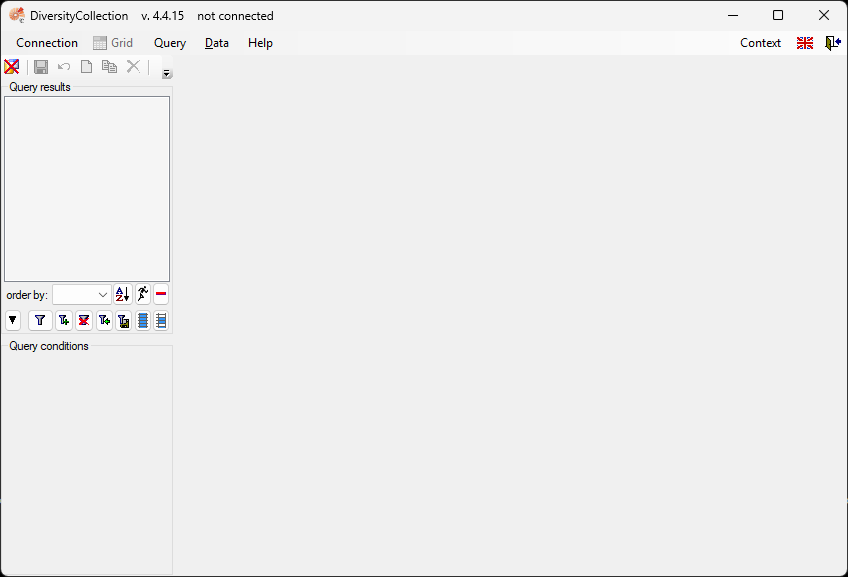
The main window will open.
Connect to server and database
The first time you open this window, you will need to connect to the server and a database.
You can also watch a short video in German showing the login process:  .
.
- Click the button
 , or select Connection → Database… from the menu.
 - A window will open where you can enter your account information and select the database you want to work with (see the screenshots below).
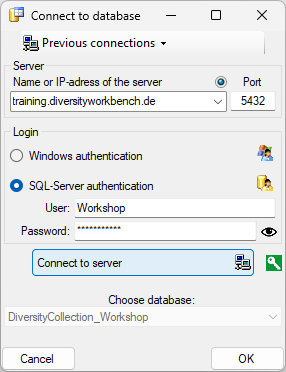
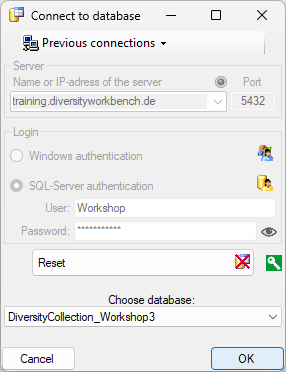
- After connecting to the server and selecting a database, click the OK button to connect and return to the main window.
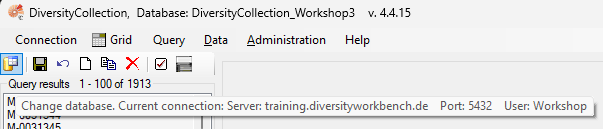
- The icon
 in the top right corner of the main window indicates that you are now connected to the database.
The tooltip of this button displays your current login information (see below).
in the top right corner of the main window indicates that you are now connected to the database.
The tooltip of this button displays your current login information (see below).
Next chapters
This tutorial continues in the sections listed below.
- section New data set
- section CollectionEvent
- section Localisation
- section CollectionEventSeries
- section CollectionSpecimen
- section Collector
- section Collection specimen relations
- section Organisms and identifications
- section Specimen parts and storage
- section Searching the database