GIS Editor

Selecting Samples
The samples which have been created or loaded may be switched off and on in several ways:
- At the Sample List using the toggle buttons
- At the working area by clicking the objects
- At the working area using the Frame
Switching the toggle buttons of the Sample List with the left mouse
button will hide or show the corresponding sample.
Using the right mouse button will effect all samples except the
corresponding one and the background map:
- When right clicking on an active toggle button, all other samples will be switched off.
- When right clicking on an inactive toggle button, all other samples will be switched on.
Since version 2.2.9.0 the samples may also be switched directly on the working area in a similar way:
- Left click on a visible/invisible sample will hide/show the sample.
- Right click on a visible sample will switch off all other samples.
- Right click on a invisible sample will switch on all other samples.
To be able to locate the ‘invisible’ switched off samples on the working
area (e.g. to switch them on again) the opacity of them can be set in
the GIS-Editor Settings. 100% means fully
visible, 0% means invisible.
Note: The opacity has to be set before the samples are loaded or
created! The value is part of the corresponding object and cannot be
changed afterwards.
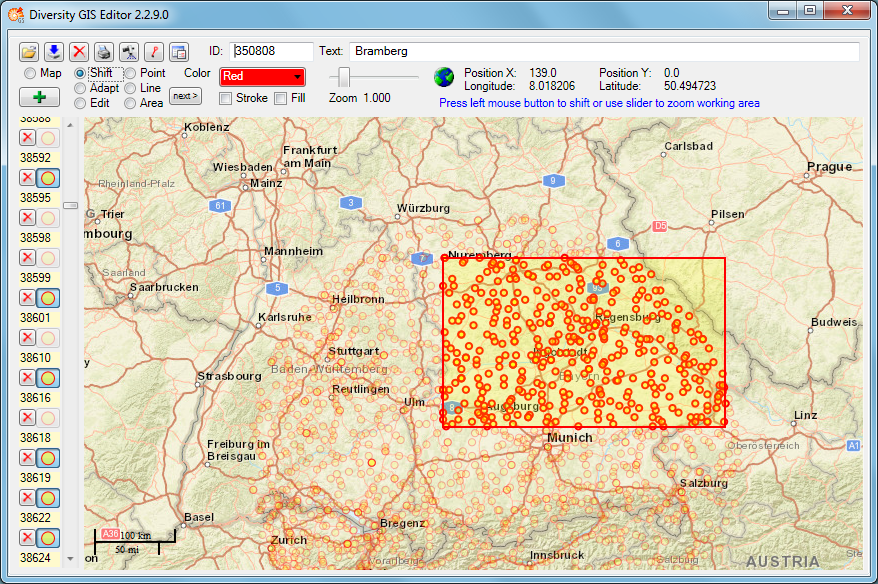
If there is a big amount of samples loaded to the working area it might be desirable to make a preselection before switching them one by one. For this select Shift mode and enable the Frame in the GIS-EditorSettings. Adjust the position and size of the Frame, then click on the Frame area with the right mouse button to switch on all samples within the frame and switch off all samples outside.